
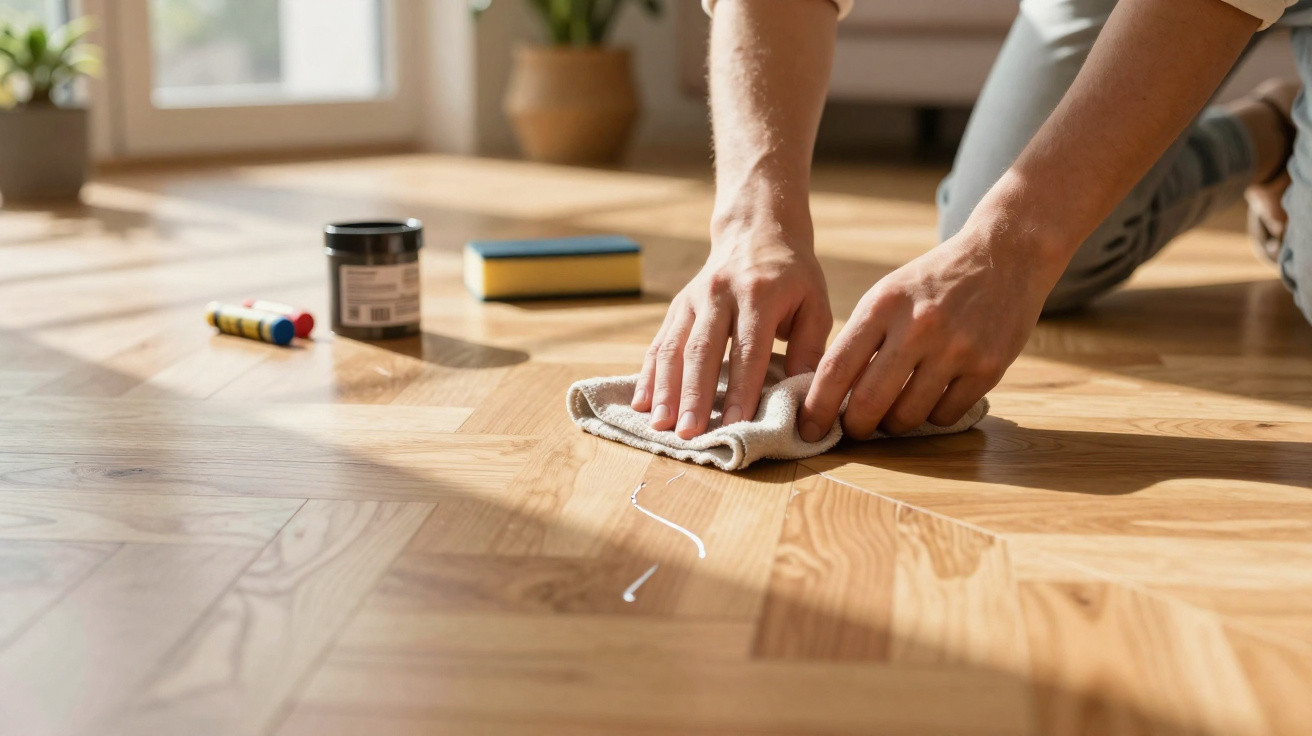
On Sunday mornings, light often falls at an angle across the floor, revealing what you would rather not notice: that long scratch by the sofa, the fine marks beneath the table, or the paler line left by a chair moved a little too quickly. Wooden flooring remembers everything: dragged toys, heels, grit caught under shoes, and even that piece of furniture you promised to shift “only ten centimetres”.
We all know the moment when we start picturing a hired floor sander, an emptied room and several days of dust. Yet many scratches have not penetrated deeply into the wood; they have merely damaged the finish, the protective layer that gives the floor its sheen. Before bringing out the heavy-duty tools, three straightforward steps can transform the look of a board in minutes. The second is almost surprisingly simple.
Before repairing wooden flooring, find out what the scratch really means
A dark scratch, a white scratch and a gouge that catches on your fingernail should not be handled in the same way. Start by gently running a clean finger over the mark, without rubbing as though force alone will remove it: if you can barely feel it, it is likely that only the surface varnish or oil has been affected. That is encouraging, because the wood itself is probably not exposed.
In an older flat, Claire thought her oak flooring was ruined after moving a bookcase. Against the light, three grey marks appeared to run across the whole living room; after cleaning them with a very slightly damp microfibre cloth, two turned out to be nothing more than rubber transfer from the furniture pads. The third needed a touch-up, not a major project. That simple assessment saved her several hundred pounds.
Colour offers another useful clue. A pale mark on dark wooden flooring often points to a scratched finish, whereas a very dark trace may mean that moisture or dirt has settled into a tiny crack. The right product is never the one claiming to offer a universal miracle. Also check whether your floor is lacquered, oiled or waxed: oiled flooring is nourished locally, while lacquered flooring needs the finish layer disguised and protected.
Three quick wooden flooring repairs that avoid major sanding
The first repair begins with careful cleaning, followed by a wooden flooring touch-up pencil in a shade slightly lighter than the board. Apply it along the grain, only within the scratch, then blend it immediately using a dry, lint-free cloth. For minor scuffs caused by a dog or chair, this restores continuity to the grain without creating an overly even patch that would give the repair away.
The second takes five minutes: for a fine scratch on lacquered wooden flooring, use a suitable repair wax or renovation polish with a soft cloth. Use only a very small amount, work it in along the wood grain, leave it for the time stated on the label, then buff gently; the white mark will often merge into the existing shine. Let us be honest: nobody really does this every day, but five minutes after an incident can prevent you from staring at the same scratch for years.
The third option is for scratches that are slightly indented: use a meltable hard wax stick or tinted wood filler, testing it beneath furniture first. A plastic spatula is enough to fill the line, then remove the excess without spreading the product around it; on an oiled floor, a thin layer of maintenance oil can then even out the area.
“A successful touch-up does not try to erase every part of the floor’s history: it reduces what catches the eye and protects the wood for what comes next.”
- Always clean and dry the area before carrying out any touch-up.
- Test the shade in an unobtrusive corner or on an offcut of wooden flooring.
- Work with the grain, never across it.
- Allow complete drying before replacing a rug or piece of furniture.
The simple step that prevents scratches returning in the same place
A repair lasts better when you also address its cause. Felt pads beneath chairs, a mat at the entrance and a quick vacuum using a wooden-floor brush genuinely make a difference, because grains of sand act like abrasive paper beneath shoes. There is no need to turn the living room into a museum: the aim is simply to stop the same damage happening again each day.
Avoid remedies picked up too hastily on social media, particularly cooking oil, neat vinegar or a bicarbonate-of-soda-and-water mixture on a delicate finish. They may look good for an hour, then leave behind a greasy, dull or sticky film that attracts even more dust. A walnut can sometimes darken a scuff on bare wood, but on lacquered wooden flooring it is more likely to make a proper repair harder.
Complete sanding still has its place for a floor covered in deep scratches, stained across large areas or where bare wood is clearly showing. But there is a vast middle ground between a tiny scuff and a full-scale project, often overlooked because it seems less dramatic. Sharing a photo taken before and after the repair can also encourage those close to you to try that first step: a well-used wooden floor does not have to be perfect to remain beautiful.
| Key point | Detail | Benefit for the reader |
|---|---|---|
| Identify the depth | A scratch that does not catch on your fingernail often affects only the finish. | Prevents unnecessary purchases or hiring of sanding equipment. |
| The 5-minute solution | A suitable repair wax or polish can reduce the appearance of fine scratches. | Quickly restores a more even-looking floor. |
| Prevent new marks | Felt pads, entrance mats and removing abrasive grit. | Extends the effect of the touch-up and protects wooden flooring day to day. |




Comments
No comments yet. Be the first to comment!
Leave a Comment