
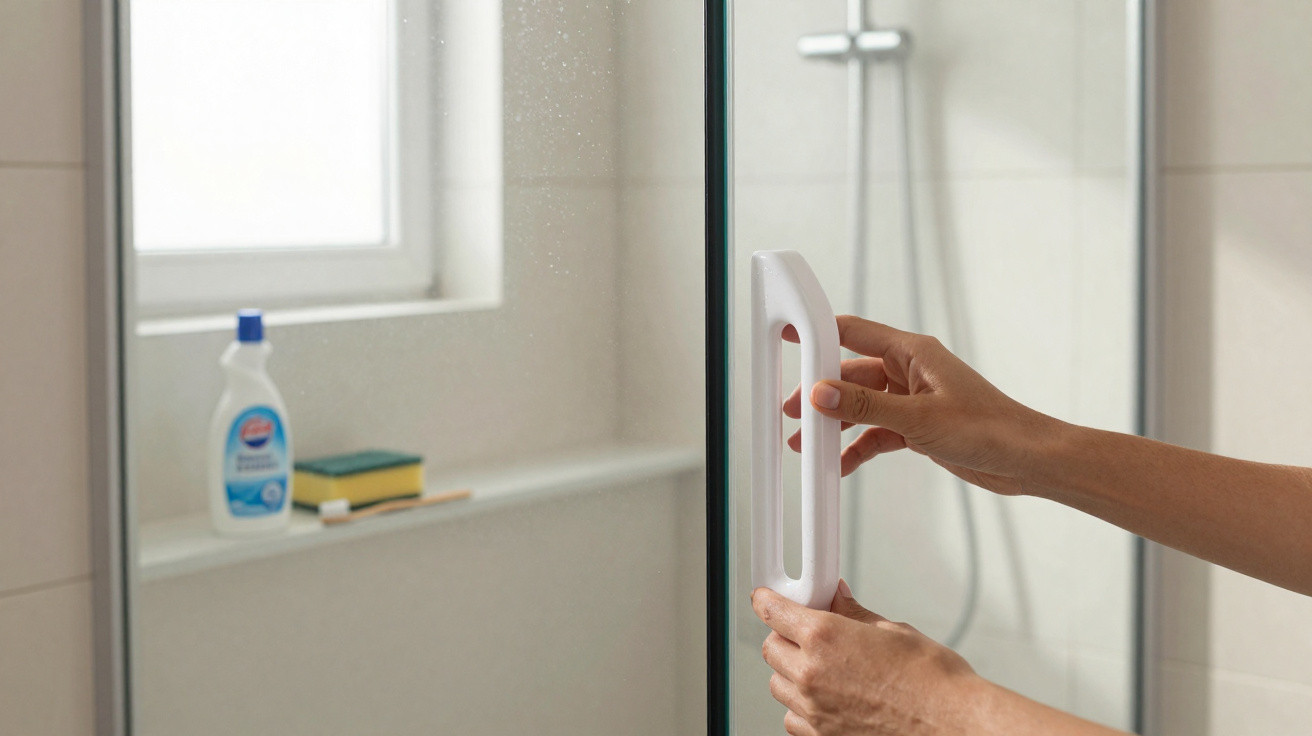
One morning, the bathroom light falls directly on them: the seals that were once white, then grey, have turned decidedly black around the shower. You give them a quick scrub with a sponge, promise yourself you will deal with them next weekend, and then the weeks slip by. The most frustrating thing is that the room can be spotless, the towels neatly put away and the mirror gleaming, yet that dark line instantly makes everything look neglected. Many people assume they need to pull out the silicone, redo the finishing and reach for the cartridge gun. Yet when the seals are still firmly attached, a trick costing under €2 can often restore a surprisingly clean appearance. Sometimes, the result takes just one night.
Why shower seals turn black even in a clean bathroom
We all know the feeling: you have just cleaned the shower, but those black marks remain, almost defiantly, in the corners. They are not necessarily a sign of poor cleaning. Moisture left behind after showering, soap residue and inadequate ventilation create an ideal breeding ground for mould. As it ages, silicone becomes slightly porous and eventually traps these deposits.
In an older flat, Claire, a tenant in Lyon, was ready to replace every seal around her bath after noticing a few black spots spreading into the wall corner. Before she took everything apart, a tradesperson advised her to try a straightforward method: a small bottle of chlorinated gel, sold for around €2, applied precisely. By the following day, the marks had faded considerably, without a single seal being removed.
The key factor is contact time. Liquid cleaner runs down the tiles and has little effect on the targeted area, whereas a thick gel stays on the seal and works more effectively on surface staining. It is not a miracle solution for silicone that is damaged from within, but it often makes a visible difference when mould is only just beginning. To be honest, no one really does this every day.
The €2 trick: leave chlorinated gel on overnight
The approach is straightforward: choose a thick bleach-based gel, often sold as toilet cleaner, and apply it only to the blackened seals using an old toothbrush or a cotton bud. A thin line is enough; there is no need to empty the bottle. To stop the product drying out too quickly, some plumbers then cover the area with a strip of cling film, laying it gently in place without spreading the gel.
Leave it to work for several hours, ideally overnight, with the window slightly open or the extractor fan running. The next day, remove the film, brush gently and rinse thoroughly with cold water. Do not scrub as though you were scouring a saucepan: a silicone seal remains flexible and can tear at the edges. One application may be enough; two treatments a few days apart are more sensible than one harsh layer.
The most common mistake is mixing chlorinated gel with white vinegar, bicarbonate of soda or a limescale remover, in the belief that it will create a stronger cleaner. This is a bad idea: certain combinations can release irritating, or even dangerous, fumes. Use only one type of product at a time, wear gloves and keep the door open.
“When the seal is still flexible, firmly stuck down and only stained on the surface, try localised cleaning first. Replacement comes afterwards, not beforehand.”
- Use: thick chlorinated gel, gloves, cling film and an old soft brush.
- Avoid: mixing household cleaning products, metal scouring pads and applying products in a poorly ventilated area.
- Watch for: a seal that is cracked, lifting or blackened deep down, as it will probably need replacing.
After cleaning shower seals: stop the black marks returning
Once the seals are light again, the real work comes down to a few almost imperceptible habits. After showering, using a squeegee on the walls or quickly wiping the corner of the bath removes much of the water that feeds mould. It takes no more than thirty seconds and can often prevent the same black spots from reappearing three weeks later.
Ventilation matters just as much as the product you use. A dirty extractor fan, a window that is always shut or a damp bath mat left on the floor all maintain a heavy atmosphere, even in a recently fitted bathroom. Leaving the door open after showering can help, provided air can genuinely circulate. The simplest indicator is this: if the mirror stays steamed up for a long time, the room probably lacks ventilation.
This €2 trick is not a substitute for renovation when the silicone is lifting, water is getting behind the bath or a musty smell persists. In that situation, redoing the seal also protects the wall and prevents a more costly leak. However, between a flawless seal and a full refurbishment, there is often a middle-ground solution: modest, affordable and genuinely satisfying to look at.
| Key point | Detail | Benefit for the reader |
|---|---|---|
| Thick chlorinated gel | It clings to seals better than a liquid product | Works for longer on black marks without redoing everything |
| Cling film | It slows the gel from drying while it is left in place | Improves contact time using something already available at home |
| Daily prevention | Squeegeeing, ventilation and drying corners | Reduces mould returning and extends the life of seals |
Comments
No comments yet. Be the first to comment!
Leave a Comment