
On a Saturday morning, light falls at an angle across the bathroom floor and suddenly that is all you can see: those greyish, sometimes almost black, tile grout lines that make the whole room look neglected. The tiles are clean, the towels are folded and the mirror is gleaming… yet the lines between the tiles tell a different story. We all know the moment when we wonder whether regrouting is the only answer. In fact, a very simple mixture, left to work for a few minutes and used without scrubbing frantically, can transform the appearance of a floor or shower. The result is often more striking than expected.
Why tile grout gets dirty much faster than tiles
Grout has one discreet drawback: it is slightly porous. It holds on to moisture, soap marks, dust settling on the floor and everyday splashes, particularly in the kitchen or around the shower. Gradually, its original colour fades without us really noticing. Then one day, after moving a mat or cleaning a neglected patch, the contrast becomes impossible to miss. The tiles look dull even though they are not dirty. It is the grout that makes the room look tired, rather like marked windows in an otherwise tidy home.
In a family bathroom, floor grout can darken within a few months if the room is poorly ventilated. One reader said she had assumed the marks embedded in her shower were mould before trying a homemade paste on a small hidden area. In under ten minutes, the change was clear: the grout had not been artificially whitened; it had simply recovered its light beige shade. That small detail transforms the look. The difference between a floor that appears old and one that looks cared for can sometimes come down to a few clean cement lines.
The problem often lies with products that are too harsh, or used too quickly. Bleach, for instance, creates an immediate impression of whiteness, but over time it can weaken certain grouts, while its smell quickly fills small rooms. Deposits do not always come away through force: they lift more easily when a product has time to soften them. The most effective cleaner is not necessarily the one with the strongest smell. The key is to identify what needs removing: grease, limescale, dried soap or moisture marks.
The quick paste that refreshes tile grout
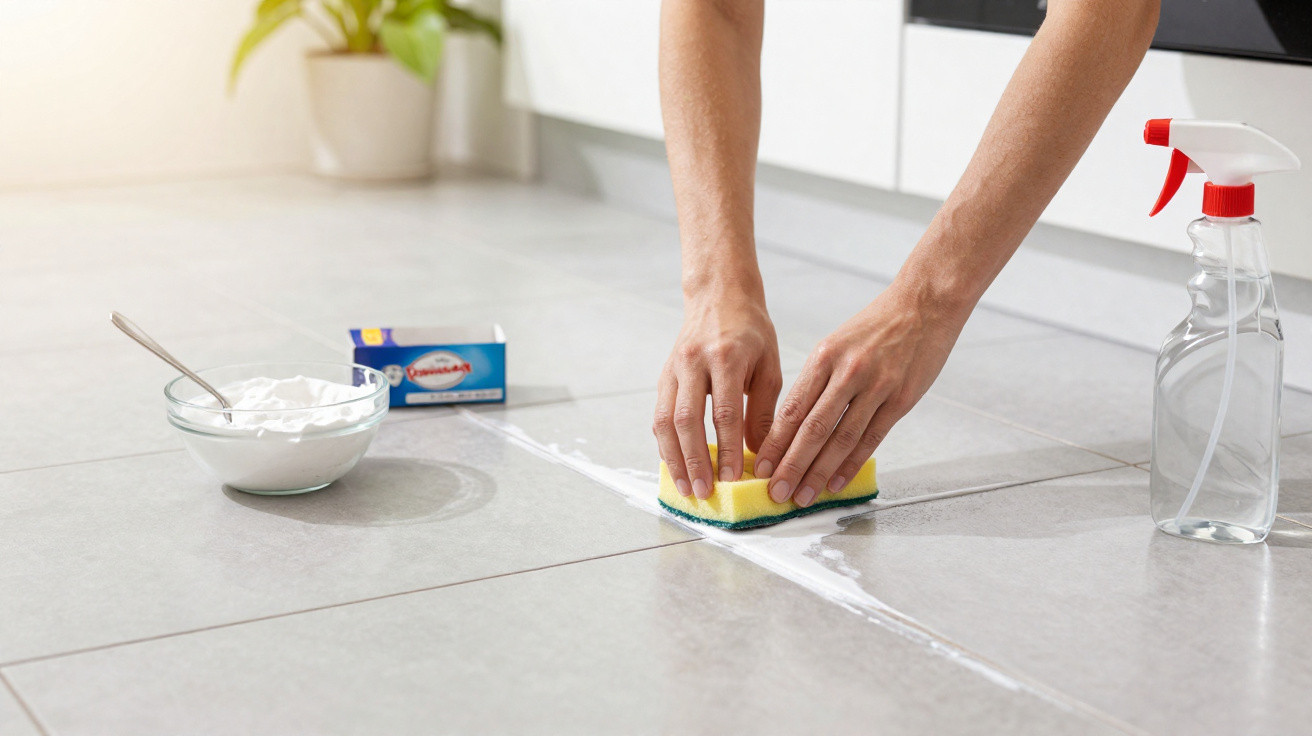
The easiest method is to combine bicarbonate of soda with just enough warm water to make a thick paste that is easy to spread over the grout. Apply it with an old toothbrush, a small household brush or even the back of a spoon in narrow areas. Leave it for five to ten minutes, without allowing the paste to dry completely hard. Then scrub using short movements and rinse with clean water using a well-wrung sponge. On lightly soiled grout, the difference is almost immediate.
For older marks, a few drops of washing-up liquid added to the paste can help lift the greasy film, especially between tiles on a splashback or close to the hob. There is no need to use half the cupboard beneath the sink: too much product leaves a film that is difficult to rinse away. Let us be honest: nobody really does this every day. A better routine is usually a quick touch-up as soon as the grout starts turning grey, before the job becomes a major Sunday project.
White vinegar can also help tackle limescale, but it is not suitable for every surface. It is best avoided on natural stone, marble, travertine or certain delicate grouts; use soapy water or a pH-neutral product instead. Always test a small area, particularly if the tiling is old.
“Clean grout does not need to be whitened at all costs: it should recover its colour without being damaged.”
- Make a thick paste from bicarbonate of soda and warm water.
- Leave it to work for a few minutes, not for a full hour.
- Scrub gently with a soft brush.
- Rinse thoroughly to prevent powdery residue.
Simple habits that stop tile grout turning grey again
Once the grout has been refreshed, the hardest part is simply maintaining that clean effect. After showering, quickly running a squeegee over the walls limits water marks and slows the development of dark marks in corners. On the floor, a mop that is too wet can leave behind more moisture than it removes. It is better to wring it out properly and air the room for a few minutes. These are not dramatic measures, but they prevent the “tired” bathroom look that can appear without warning.
In the kitchen, grout close to the worktop deserves particular attention. Splashes of oil, sauce or coffee settle into the grooves and become sticky over time. A wipe with a sponge after preparing a meal is often enough to prevent the worst of it. Regular care is better than stripping, especially with older grout. Nobody wants to kneel for an hour with a toothbrush, and there is no need when small marks are dealt with at the right time.
There is also a limit worth accepting: if grout is crumbling, hollowed out or turning black despite repeated cleaning, it may no longer need a miracle product but a repair. Damaged grout allows moisture to get behind the tiles, potentially causing damage that costs more than a simple touch-up. In that case, removing the loose section and regrouting the area is often the wiser choice. The bicarbonate of soda trick works wonders on dirt; it cannot replace material that has genuinely reached the end of its life.
| Key point | Detail | Benefit for the reader |
|---|---|---|
| Bicarbonate paste | Bicarbonate of soda and warm water, applied for 5 to 10 minutes | An accessible way to refresh dull grout quickly |
| Gentle brushing | Use a soft brush or an old toothbrush | Removes deposits without damaging the grout |
| Light maintenance | Ventilation, a squeegee and a sponge after splashes | Reduces how often intensive cleaning is needed |



Comments
No comments yet. Be the first to comment!
Leave a Comment