
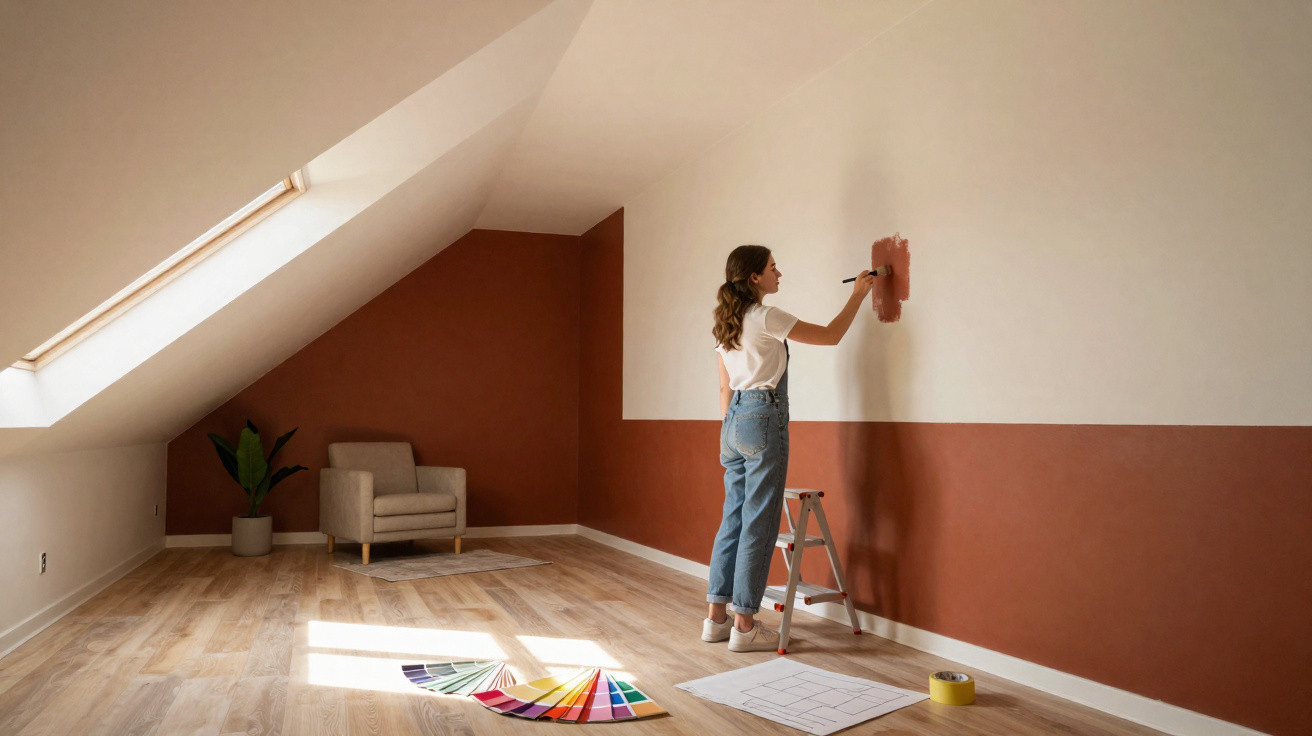
Interior designers are increasingly turning to an unexpected tool: make-up techniques applied to wall paint. Carefully placed light-and-dark contrasts can dramatically alter how a room is perceived – without demolition work, stud walls or new furniture.
The principle behind “Room Contouring”
Contouring has long been a beauty-world staple: dark shades make facial features recede, while lighter ones bring cheekbones and brows forward. The same principle is now being transferred to walls. Professionals call it “Room Contouring” – shaping a room through colour.
“The idea is not simply to paint beautifully, but to paint strategically – with a clear purpose for every surface in the room.”
Rather than keeping everything in one neutral shade, designers use graduated tones across walls, ceilings, alcoves, mouldings and architectural details. This creates deliberately positioned effects of light and shadow that guide the eye. The room’s physical dimensions stay the same, but our impression of it changes markedly.
Dark areas appear to recede, while light ones seem to advance. This can be used to visually “correct” proportions: an overly tall room feels lower, a long narrow room appears wider, and a vast living area becomes more inviting.
How colour deceives the eye
This approach is based on how we perceive light and depth. Pale surfaces reflect a great deal of light, so they seem close and prominent. Darker ones absorb light and appear farther away. That simple rule can be applied deliberately:
- Dark shades make a surface appear to recede and create depth.
- Light shades bring a surface forward and make it seem larger.
- Mid-tones link the two effects and create softer transitions.
No one gains actual square metres this way. However, the feeling of entering a room can change enormously. What once felt “too cramped”, “too cold” or “too awkwardly shaped” can often become “balanced” and “coherent” simply through the choice and placement of colour.
Too narrow, too large, too complex: common problem rooms
Long, narrow hallway or slim room
Many homes have corridors that feel like tunnels, or living rooms that stretch almost entirely in one direction. Room Contouring is particularly effective in these spaces.
- Paint the short end wall darker: This makes it seem closer and reduces the tunnel effect.
- Keep the long walls lighter: They recede visually and feel less dominant.
- Darken the ceiling slightly: A shade just darker than the walls makes the ceiling feel lower and softens the harshness of a long, narrow space.
The result is a hallway that feels more compact and less endless. In rooms with a window at the far end, it can help to paint the window wall slightly darker, allowing the bright window area itself to shine more strongly.
Vast, somewhat cool living space
Large open-plan living areas are often considered desirable, yet in reality they can quickly feel unwelcoming. Expanses of bare wall, high ceilings and little structure can leave people feeling lost in the room.
Interior professionals often choose deeper wall colours here to give the space more weight and comfort. A darker shade on the main walls makes the room appear slightly smaller and creates a calmer atmosphere. A subtly different ceiling tone can also separate zones, such as the living and dining areas, without the need to build a wall.
“Dark walls do not have to create a ‘cave effect’ – used correctly, they give large rooms definition and charm.”
Anyone hesitant to commit to fully dark walls can begin by deepening just one or two surfaces, such as the wall behind the sofa or the wall opposite the incoming light.
Sloping ceilings, low ceilings and awkward alcoves
Bedrooms with sloping roofs or period properties with very low ceilings can soon feel oppressive. In this case, the reverse technique is useful:
- Make the ceiling and slope noticeably lighter than the walls: This makes them appear to lift upwards.
- Use slightly stronger shades on the walls: They provide grounding and make the light ceiling plane seem to float.
- Darken distracting alcoves: Giving them a deeper tone makes them visually retreat and less noticeable.
A room that previously felt like an upside-down box can become a far airier space with clearer lines.
Using architectural features to best effect
Room Contouring is not only about concealing features; above all, it can be used to emphasise them. Some elements deserve attention, such as an attractive bank of windows, an old fireplace or an elegant door.
One popular approach is to paint these features in a lighter, warmer colour than the rest of the room. A bay window or window wall can look like a light source in its own right when finished in a sunny shade. The eye is naturally drawn towards it, the room’s depth becomes more apparent, and a focal point is created at the same time.
“What was once considered a ‘problem area’ becomes the room’s star with just a few brushstrokes.”
Bookcases, fitted cupboards and wide door frames can be highlighted in the same way. Those feeling bolder can use complementary colours – shades that intensify one another – such as muted blue walls paired with warm sandy beige around the window area.
Matt or gloss: the effect of the right finish
Choosing colours alone is not enough for convincing Room Contouring. The finish has a major influence on whether the technique works.
- Matt paints reflect little light. They absorb brightness and create depth, making them ideal for surfaces intended to recede, such as a television wall, the back wall of a hallway or a reading corner.
- Velvety finishes work in a similar way, though they create a slightly softer and more luxurious effect.
- Gloss and high-gloss paints reflect a great deal of light, emphasise every edge and make surfaces appear flatter.
Interior designers therefore use matt finishes on larger surfaces that are intended to be shaped visually. Gloss finishes are better suited to details that should deliberately stand out: doors, mouldings, individual furniture pieces or a lacquered shelf.
“The basic rule: create depth with matt finishes and add accents with gloss.”
Practical Room Contouring examples to get started
Anyone trying the principle for the first time should start on a small scale. A few straightforward applications work almost every time:
- Visually widen a room: Paint the end wall slightly darker in a narrow room and keep the long walls lighter.
- “Lower” a ceiling: In very tall rooms, use a darker colour on the ceiling and upper third of the walls, while keeping the lower section lighter.
- Zone different areas: In an open-plan living-dining space, frame the dining area with a deeper shade and keep the sofa area calmer and lighter.
- Create a small reading corner: Paint an alcove and the adjacent ceiling in a dark, matt shade, leaving the rest of the room neutral.
This makes it possible to test how strongly your own perception responds to colour placement – usually more strongly than expected.
Risks, mistakes and how to avoid them
Naturally, Room Contouring can also go wrong. Randomly placing dark surfaces risks creating an oppressive, unsettled overall effect. A clear objective is essential: what should look smaller, larger, calmer or more prominent?
A simple method can help: before painting, mark out individual areas with masking tape and coloured paper, or virtually recolour a photograph of the room using image-editing software. This reveals whether the concept seems convincing. Two or three closely related colours usually look more harmonious than five completely different shades.
Why the effort is worthwhile
Compared with buying new furniture, building stud walls or creating an elaborate lighting scheme, Room Contouring is surprisingly affordable. A few tins of paint, some time and a well-considered plan are enough to significantly change the feeling of a room. It offers a rare opportunity to “repair” proportions, especially in rented homes where structural alterations are barely possible.
By progressing gradually, you learn something new with every room. Terms such as depth effect, light reflection and colour temperature may sound abstract at first, but quickly become tangible when experienced in your own home. Ideally, the result is an interior that may not be perfectly symmetrical, yet feels exactly right – simply because colour has skilfully applied its make-up.





Comments
No comments yet. Be the first to comment!
Leave a Comment