
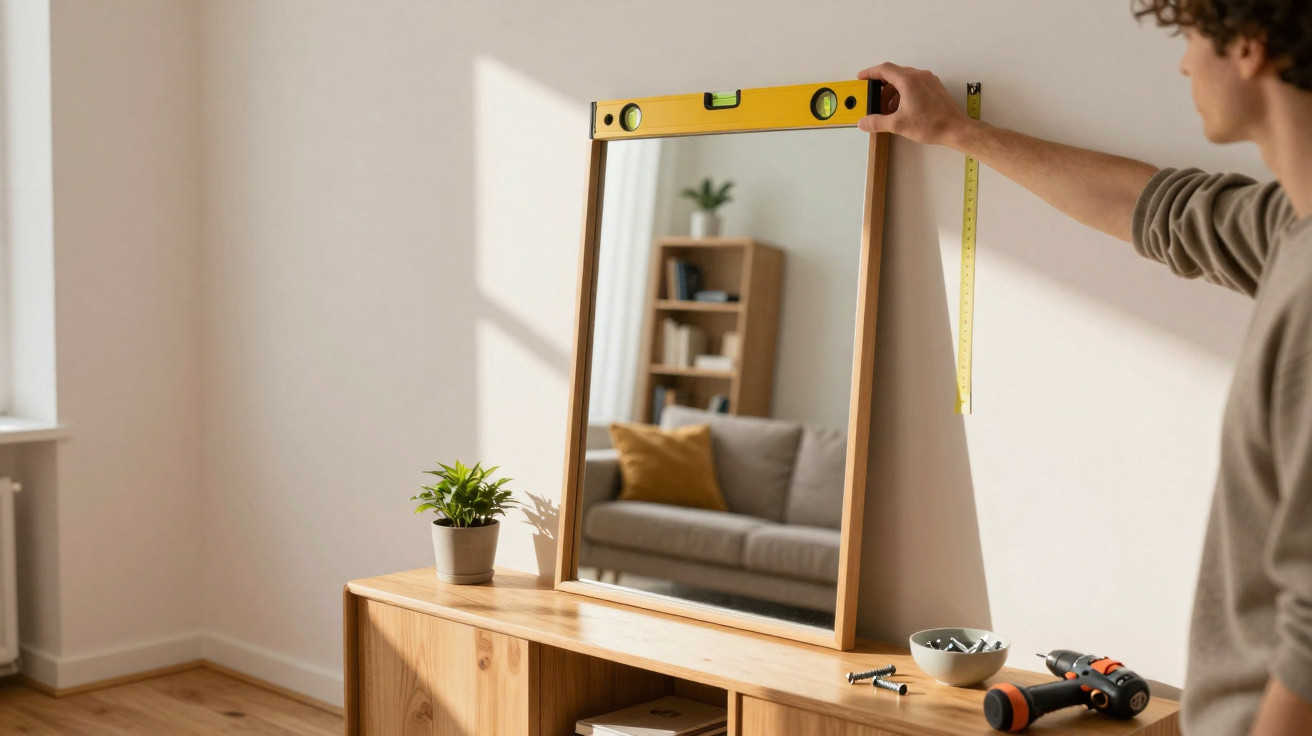
The mirror has been leaning against the wall for three days, with its packaging half open, because everyone knows that nagging worry: drilling a hole in the wrong place and having to live with an unsightly mark. In a hallway, bathroom or above a chest of drawers, being out by only a few millimetres is enough to catch the eye every morning, like a detail you cannot ignore. Drilling is not the worst part. The real problem is finding, once the mirror is fixed in place, that the frame does not align with the furniture or tiles. Yet hanging a perfectly straight mirror is no DIY miracle. You simply need to prepare the wall and use the right reference points. That changes everything.
The real trap: the wall, furniture and your eye do not always agree
A mirror looks straight when it works visually with its surroundings, not merely when the bubble sits in the middle of a spirit level. In an older house, a ceiling may slope slightly, tiling may run off-line and even a piece of furniture standing on the floor can lean a fraction. It is natural to follow the nearest line, only for your eye to spot that something feels wrong without being able to say why. A properly positioned mirror looks as though it has always belonged there. That effect relies on carefully selected reference points, not luck.
Picture an 80-centimetre round mirror above a washbasin: shifting it 1 centimetre to the left can suddenly make the tap appear off-centre. The mirror may not actually be crooked, but the whole arrangement looks unbalanced. This often happens when you measure only from the edge of a wall, even though that edge is not square. In narrow rooms, the effect is even more obvious because floor lines and furniture frame the view.
The foolproof approach therefore starts with one simple choice: select the reference point that genuinely matters. Above a sideboard, centre the mirror on the sideboard rather than the full wall; opposite a basin, use the centre line of the washbasin and tap. The spirit level should then be used to verify the horizontal or vertical line. This double check prevents the common mistake of a mirror that is technically level but visually awkward. Let us be honest: nobody does this every day, which is exactly why taking an extra ten minutes to mark everything out is worthwhile.
The foolproof method for hanging a mirror in five steps before using the drill
First, lay the mirror flat and identify the precise position of its fittings on the back: the distance between hangers, their height from the top edge and any offset in the hook. Measure twice, write it down once, then transfer those figures to the wall with a pencil. Next, apply a strip of masking tape where the top of the mirror will sit. Use a sufficiently long spirit level to draw a fine line on the tape: it creates a neat, clear guide that can be easily removed once the mirror is hung.
Before drilling, carry out a straightforward test that can prevent plenty of disappointment: cut out a cardboard template matching the mirror's dimensions, or use the packaging cardboard if you kept it. Tape it to the wall and step back by 2 or 3 metres. Check it from the doorway too, and from the sofa if it is going in the living room. Viewing it from another position exposes misalignments you cannot see when standing close to the wall. The right position is visible before the first hole is drilled.
Once you have confirmed the marks, choose fittings suited to both the mirror's weight and the wall construction: suitable plasterboard fixings, expansion fixings for a more substantial load, or strong screws and wall plugs for brick or concrete.
“A mirror does not forgive guesswork: prepare its centre line, then drill calmly.”
Keep these essentials close at hand:
- a spirit level or laser level;
- a tape measure and fine pencil;
- masking tape;
- a drill, suitable wall plugs and screws;
- a second person for larger mirrors.
Mistakes that leave a mirror crooked, even when the level says otherwise
The most common mistake is measuring the mirror's height without accounting for its fittings. On some designs, the hook sits 4 or 5 centimetres below the top edge; on others, two side fittings require an exact distance between the screws. The result is a mirror positioned too high or, worse still, tilted slightly forwards. Always measure from the point where the mirror actually rests on the screw. It may seem like a tiny detail. It never is.
Another pitfall is drilling before checking what is concealed inside the wall. Pipes and electrical cables are not visible, and a materials detector costs far less than an unexpected repair. In a bathroom, extra care is essential near water supplies, sockets and the washbasin. If the mirror is heavy, do not rely on one simple screw driven into plasterboard: use a fixing rated for the load, with a comfortable safety margin. A fallen mirror shows no mercy.
Large mirrors also need one final two-person check immediately before you let go. One person should hold the frame while the other checks the line with the level and looks at its relationship to the furniture or grout lines. Where the model has two hooks, set it down gently, then slide it a few millimetres until it meets the marked centre line. Never force the glass. Pressure in the wrong place can cause invisible stress, especially in thin or older mirrors. Here, patience is a form of safety.
After hanging the mirror, spend a minute living with it before putting the tools away. Open the door, switch on the light and look at its reflection from the places you genuinely use. A small adjustment is still easy while the equipment is out and the wall has not been hastily filled. This seemingly ordinary step turns a practical installation into a decorative feature that brings calm to the room. A straight mirror does more than help you check your outfit: it makes the space feel larger, catches the light and brings a little more order to daily life.
There is something satisfying about the moment when a frame stops being an object placed at random and becomes an element that truly belongs. You may wonder which centre line matters most in a room: that of the wall, furniture, window, or simply the line that looks natural to the eye. The best installations do not always follow a rigid rule. They respect the real life of a home, its small flaws and imperfect lines. A before-and-after photograph shared with someone close can sometimes provide the outside perspective that confirms it: yes, this time it is perfectly straight.
| Key point | Detail | Added value for the reader |
|---|---|---|
| Choose the right centre line | Centre the mirror on the furniture, washbasin or dominant visual feature. | A harmonious result, even if the wall or ceiling is not perfectly straight. |
| Mark out before drilling | Use masking tape and a level to show the hanging line. | Fewer mistakes, fewer unnecessary holes and a less stressful installation. |
| Match the fixing to the job | Select screws and wall plugs according to the mirror's weight and the wall type. | A long-lasting installation that is safer day to day. |





Comments
No comments yet. Be the first to comment!
Leave a Comment