
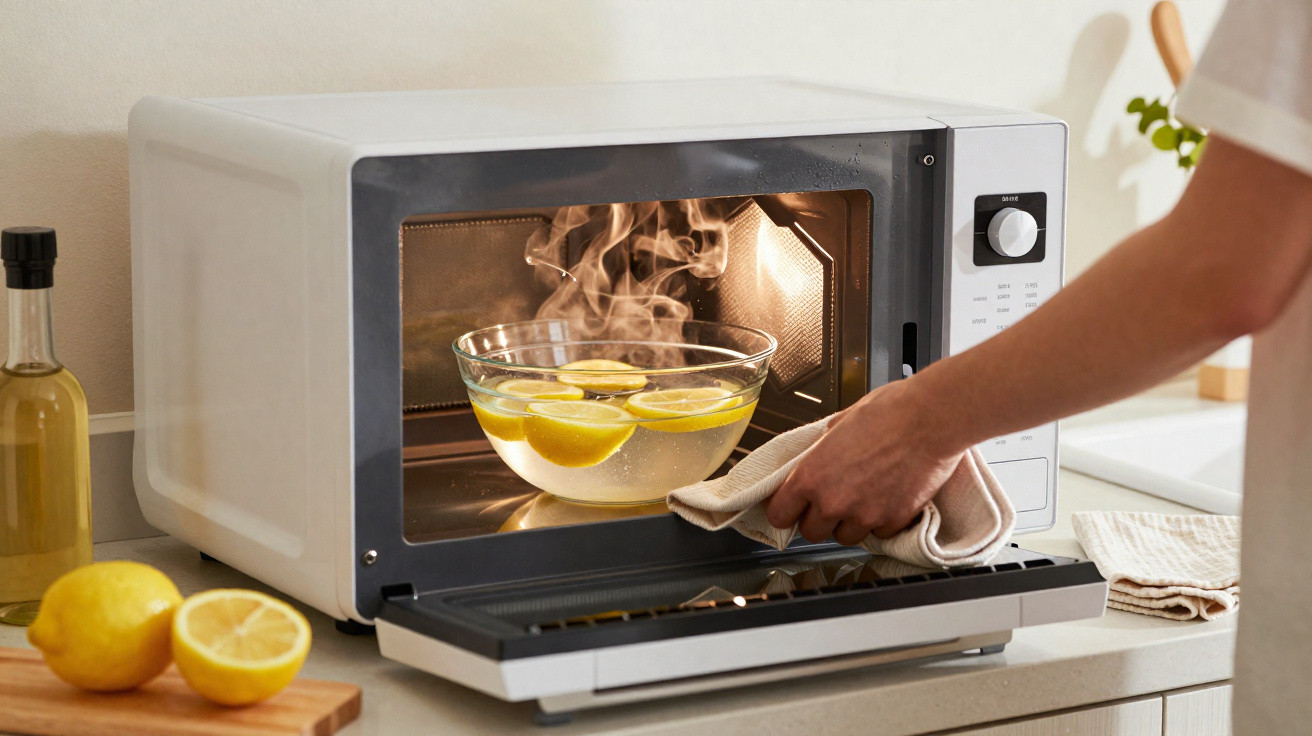
Among the many household cleaning methods that have become popular in recent years, boiling vinegar with lemon in the microwave has emerged as one of the most widely discussed tricks. First shared in social media groups and short videos, the practice is now used by whole families as a cleaning “shortcut”: it is straightforward, relies on everyday ingredients, helps lift grease, food splatters and lingering odours and, when used carefully, may even extend the appliance’s working life.
How does boiling vinegar with lemon in the microwave work?
Heating vinegar and lemon in a microwave works through the action of the acidic steam produced by the mixture. As the solution heats up, it releases particles that circulate throughout the appliance’s cavity, softening dried-on marks, grease and residue built up through daily use, much of which may not be immediately visible.
White vinegar can degrease and neutralise odours, while lemon adds citrus and aromatic properties. Combined, they create a damp, mildly acidic environment inside the microwave, making dirt that a standard damp cloth cannot shift easier to remove and reducing the day-to-day need for harsher kitchen chemicals.
Watch a video from the YouTube channel Almanaque SOS explaining how to clean the inside of a microwave quickly by melting grease with steam from acidic homemade mixtures:
https://www.youtube.com/watch?v=M9mF2c5R9U4
Does boiling vinegar with lemon in the microwave remove stubborn dirt?
In microwaves that are used every day, heated vinegar and lemon can often help tackle older layers of grime. Hot steam reaches the internal walls, ceiling and corners, loosening dried splashes of sauces, melted cheese and grease. This can be particularly helpful in homes where the appliance replaces the hob for a large share of meals.
Once it has been heated, a soft cloth or non-abrasive sponge should meet less resistance when wiping away residue, while persistent smells from fish, strongly flavoured sauces or burnt popcorn generally become less noticeable. Very old crusted deposits may require the process to be repeated or a little extra gentle rubbing. Dark marks or rust, however, may indicate that professional maintenance is needed.
What little-known detail makes a difference to the result?
The key is not simply boiling vinegar with lemon in the microwave, but also the way the mixture is made and used. How the lemon is cut, the water-to-vinegar ratio and the time allowed for the steam to work all directly affect the procedure’s efficiency and safety, a point appliance technicians have highlighted as the method has become more popular.
To achieve a good result without harming the appliance, a few simple precautions are recommended when preparing the solution and placing the container. Use a microwave-safe glass or ceramic bowl with high sides, add water to dilute the vinegar, cut the lemon into slices or crosswise to release more essential oils, and leave room in the bowl for boiling. These measures help prevent overflow and lower the risk of internal damage.
Practical steps and precautions for using vinegar and lemon in the microwave
To use this method simply and safely, it is helpful to follow a basic sequence. It makes the process more consistent, reduces the risk of accidents and improves the cleaning result, including for people who rarely maintain their appliance and want a quick everyday alternative.
Make the solution using 120 ml of water, 60 ml of white vinegar and a few lemon slices, or the squeezed juice and peel of half a lemon. Place it in a suitable container in the centre of the turntable, heat on high for 3 to 5 minutes, then leave the door shut for a further 3 to 5 minutes. Finally, wipe the surfaces with a clean cloth or soft sponge. Avoid plastic containers that are not microwave-safe, excessively long heating times, and using this method in appliances with advanced rust, peeling paint or loose parts, as this could worsen existing damage.




Comments
No comments yet. Be the first to comment!
Leave a Comment