
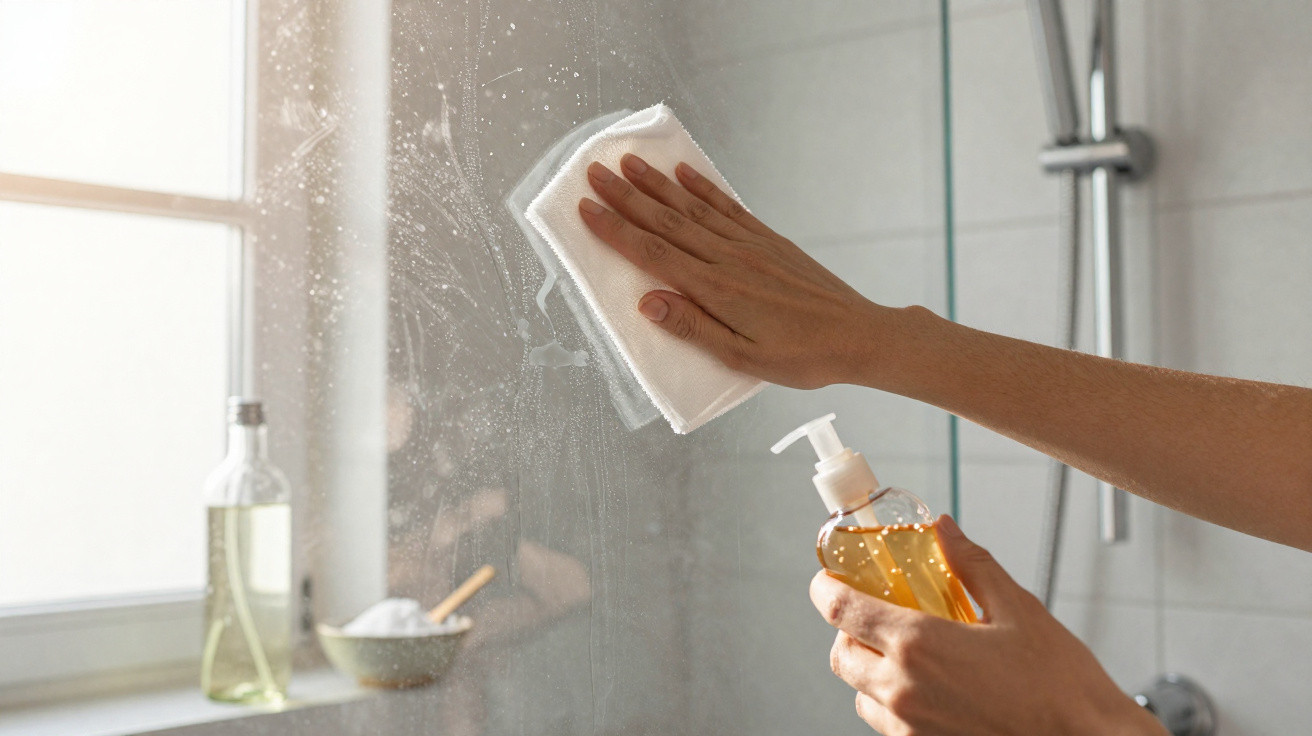
Anyone wanting to clean their glass shower screen with household remedies will quickly come across baking soda.
But one expert is clear: it makes many things needlessly complicated.
Cleaning videos make it look effortless: sprinkle on some powder, scrub briefly and everything shines. In a real bathroom, however, the result is often different. Streaks, limescale marks and water droplets remain, raising the question of what will genuinely clean a shower screen without turning every job into a lengthy cleaning session.
Why so many people swear by baking soda in the shower
Baking soda has a reputation as an all-purpose household product. It is inexpensive, appears in countless DIY cleaning recipes and does not involve harsh chemicals. Many guides describe it as a miracle solution for grease, dirt and odours.
It can indeed achieve quite a lot on a glass shower screen:
- Its fine particles act as a very mild abrasive.
- It removes soap residue and dirt that can form a cloudy film.
- Mineral deposits left by water are easier to rub away.
- When used correctly, it will not scratch glass or most tiles.
The paste version is particularly popular: mix baking soda with a little water, apply it, leave it to work and wipe it away. For heavier dirt, recipes combining it with vinegar are often shared, claiming to provide an especially thorough clean.
Baking soda is effective against limescale, but it demands plenty of time, patience and water – so it fits only poorly into a busy everyday routine.
Why baking soda becomes frustrating in day-to-day shower cleaning
While the theory sounds ideal, using it in the bathroom is another matter. A shower screen is large, smooth and vertical, which makes applying baking soda laborious.
The usual cleaning reality on a glass screen
Once you have mixed a baking soda paste, several difficulties soon arise:
- The paste slides down the vertical surface.
- Covering the whole screen evenly takes time, often requiring a step stool or ladder.
- It drips while it is working, leaving the floor greasy and slippery.
- Thorough rinsing is essential at the end, or a white film will remain.
That film appears when residue from the paste dries on the glass. Despite all the cleaning effort, the screen can then look dull. Anyone hoping to clean the shower quickly after work is unlikely to have the patience or desire for this.
The problem with a baking soda and vinegar mixture
Baking soda is frequently recommended in combination with vinegar. Although it foams dramatically and looks impressive on social media, its practical cleaning effect is limited. The acid and alkaline powder partly neutralise one another. The resulting mixture is ultimately less powerful than using either vinegar or baking soda separately.
For this reason, many cleaning professionals use baking soda selectively rather than relying on it constantly in the shower. Typical uses include:
- heavily soiled grout
- corners with stubborn deposits
- shower screens that have not been cleaned for weeks
For routine weekly maintenance, another option is considerably more suitable.
Vinegar gel: the far more convenient method for shower screens
For regular cleaning of glass shower screens, many household experts recommend vinegar. It reliably dissolves limescale, costs little and is straightforward to use. Its drawback is that it barely clings to a vertical surface and runs off too quickly.
This is where a trick already common in France comes in, and it can be used just as easily in UK homes: turn vinegar into a gel.
How vinegar gel works for a shower screen
The principle is to thicken standard household vinegar with a plant-based gelling agent, allowing it to cling to glass and work for longer. A neutral food-grade gelling agent, such as agar-agar, is suitable for this.
A typical method is as follows:
- Pour around 500 millilitres of household vinegar into a saucepan.
- Stir in about 2 grams of powdered agar-agar.
- Bring the mixture briefly to the boil, then allow it to cool.
- Transfer the now gel-like mixture into a bottle or jar.
This produces a soft gel that can be spread over the glass screen and into grout lines. Its key advantage is that, instead of immediately running downwards, it stays in place as a thin, damp layer.
Its gel structure keeps vinegar in contact with limescale for long enough that chemistry, rather than muscle power, can do the work.
Applying it to the shower screen
In everyday use, the process is simple:
- Put the gel onto the dry glass surface and spread it with a sponge.
- Leave it to work for 15 to 20 minutes.
- Rinse with warm water.
- Wipe over with a microfibre cloth or remove the water with a squeegee.
The basic mixture can be adjusted for particularly stubborn areas:
- A dash of washing-up liquid helps tackle greasy soap residue.
- A few drops of lemon juice add extra shine to the glass.
The effort remains manageable: apply the gel, do something else while it works, then simply rinse it away. This makes the method more practical for everyday life than a full baking soda scrubbing treatment, which requires far more hands-on time.
Which product makes sense in each situation
Anyone wanting to maintain a shower screen realistically should not search for one miracle product, but choose the right solution for the situation. Broadly, there are three cases:
| Condition of the shower screen | Recommended method | Effort |
|---|---|---|
| Light water marks, normal use | Vinegar gel or a standard limescale-removing spray | Low |
| Noticeable limescale marks, dull surfaces | Vinegar gel with a longer contact time | Medium |
| Not cleaned for months, heavy deposits, dirty grout | Use baking soda selectively on grout and stubborn areas, followed by vinegar gel | High |
How to prevent dirt building up on a shower screen
Those who want to scrub less should make a few small changes to how they use the shower each day. Minor habits can prevent major cleaning jobs later on.
- After showering, use a squeegee to remove water from the glass.
- Quickly dry the screen with a microfibre cloth, especially around the splash zone.
- Once a week, give it a quick clean with vinegar gel or a limescale-removing spray.
- Replace soap bars that leave heavy residue with products that leave less behind.
Using a squeegee after showering makes a significant difference to limescale marks because less water is left to evaporate on the surface. Once this becomes a habit, baking soda is needed only in exceptional cases.
What to consider when using vinegar and baking soda
Useful as household remedies may be, they are not suitable for every surface. Vinegar can damage natural stone, including marble and limestone. Some sensitive plastics also react poorly to acids. These surfaces are better cleaned with specially labelled mild products.
Baking soda can likewise leave unwanted marks on very soft or premium coatings if it is rubbed too vigorously. It is best to test it on an inconspicuous area before treating the entire shower screen.
Ventilation is another consideration: when using vinegar extensively in the bathroom, air the room well so the smell can disperse. Anyone who dislikes the vinegar scent can soften it by adding a few drops of essential oil to the gel.
Why a smart combination makes everyday life easier
Household remedies do not have to be perfect; above all, they need to work without making daily life more difficult. Baking soda remains effective for encrusted grout and stubborn dirt. For normal shower screen care, a vinegar gel that clings well is usually entirely sufficient.
Those who let go of the idea that one miracle product must solve everything can take a more relaxed approach: baking soda for major cleaning jobs, vinegar gel for a quick routine, and a squeegee that achieves more in a few seconds every day than any fashionable cleaning challenge on social media promises.
Comments
No comments yet. Be the first to comment!
Leave a Comment