
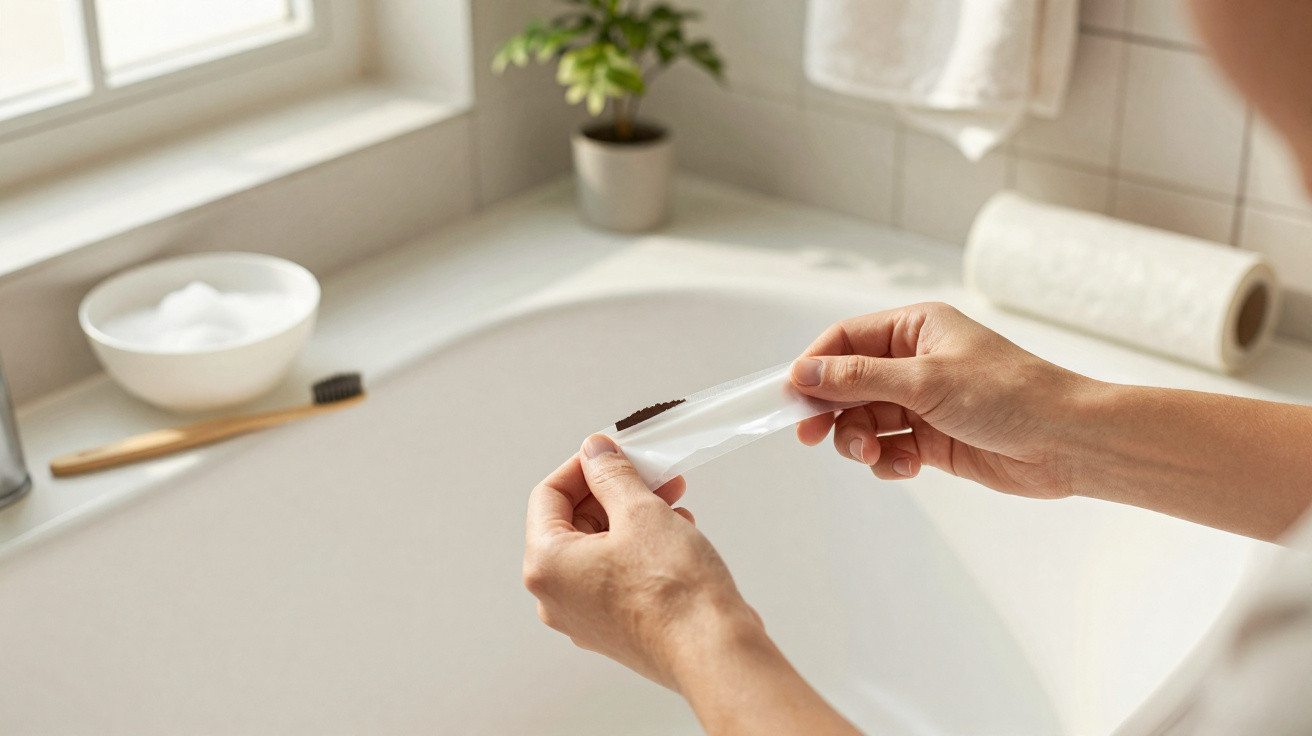
From a distance, the line may seem insignificant. Look closer, however, and it can transform the appearance of your bathroom – and often affect your mood too.
That narrow, persistent mark around the bath seal reappears however thoroughly you scrub. It is easy to blame yourself, the cleaning product or even your landlord. In reality, the cause of the dark line lies within the silicone rather than on its surface – and a low-effort overnight treatment can make a difference without turning your evening into an exhausting cleaning session.
Why your bathroom seal attracts mould more than you realise
Bathrooms retain moisture in less obvious ways. Steam lingers, shampoo leaves a coating on walls, and droplets remain in corners. Silicone joints sit exactly where this moisture tends to gather. Although they appear smooth, their composition contains tiny spaces where mould can establish itself.
Initially, this growth may resemble a faint grey shadow. As time passes, mould pigments and ordinary dirt work their way further into the silicone. You may scrub the surface until your arm hurts, only to find the mark still visible in the morning light. That is not a sign that you are poor at cleaning; it means the discolouration has penetrated the material.
Surface scrubbing fights yesterday’s dirt, not the long‑term pigments buried in the silicone.
Vinegar and bicarbonate of soda can feel dependable because they are familiar. They remove soap scum, smell like “doing something”, and are popular on social media. However, both products largely work on the surface. They do not keep active oxygen in contact with the stain for long enough to break down its chemical bonds deeper within the material.
This explains why the line commonly returns after an intensive weekend clean. There may be an immediate improvement, perhaps good enough for a before-and-after photograph, but after two showers the shadow begins to reappear. The problem is not simply a lack of effort: it is about chemistry and contact time.
The quiet 1-night cure: letting oxygen do the hard work
An increasing number of home-care experts recommend another method: a gradual, enclosed treatment using creamy hydrogen peroxide developer, the kind used for colouring hair. Rather than scrubbing with greater force, this approach lets a controlled source of oxygen remain where the stain is embedded.
A peroxide cream stays on the joint for hours, seeping into tiny pores where no brush can reach.
Hydrogen peroxide acts as an oxidising agent. It targets the complex colour compounds left by mould and interferes with the protective biofilm created by the organisms. Put simply, it lightens the mark and makes the surface less hospitable to renewed growth.
Patience is essential. This is not a five-minute bathroom rush, but a five-minute preparation followed by a lengthy, undisturbed period while you sleep.
The cling-film method, step by step
What you need
- Thin disposable gloves
- A creamy hydrogen peroxide developer (6–12%, often labelled 20–40 vol.)
- A small brush or cotton bud
- Washing-up liquid and a cloth
- Cling film to cover the treated area
- Good ventilation, such as an open window or extractor fan
How to apply the overnight treatment
Start by opening a window or turning on the extractor fan. Thoroughly dry the silicone joint with a towel, as any remaining water will dilute the product and reduce its effectiveness. Next, lightly clean the area with a little washing-up liquid and rinse it to remove soap residue and body oils. Dry it once more.
Put on your gloves. Dispense a small amount of developer cream into a dish, then use the brush to apply a generous strip directly over the darkened silicone. It should resemble a layer of icing: thick enough to stay put, but not so fluid that it runs.
Cut a piece of cling film a little wider than the seal. Place it carefully over the treated section and press it lightly so that the cream remains covered.
The cling film slows drying and traps the active oxygen exactly where the mould pigments sit.
Keep the bathroom door slightly open for ventilation, then turn off the light. Leave the treatment in place overnight, ideally for 24 hours. Where staining is particularly deep, some specialists advise leaving it for up to 48 hours, checking briefly halfway through to make sure the cream has not dried out.
When the waiting time has passed, lift off the film and remove the cream with a damp cloth. Rinse the area thoroughly. The silicone will often appear considerably whiter and cleaner. If a faint shadow remains, repeat the treatment gradually rather than attempting one severe, aggressive application.
Safety limits many people forget
Hydrogen peroxide developer is commonly used in hair salons, but it remains a chemical treatment rather than a kitchen-based home remedy. A few precautions are important:
| Do | Don’t |
|---|---|
| Wear gloves and ensure the room is well ventilated. | Never mix peroxide with bleach, chlorine products or ammonia. |
| Test a small, concealed part of the silicone first. | Do not use it on marble, limestone or other sensitive natural stone. |
| Keep the product out of reach of children and pets. | Do not leave soaked cloths in a closed bin; rinse them first. |
Reactions between peroxide and chlorine-based cleaners may produce irritating gases. Professionals advise against combining these products, even in small amounts. If you used bleach spray earlier that day, rinse the surface thoroughly and wait before using peroxide cream.
Keeping the seal white without becoming a drill sergeant
After the line has faded, you will probably want to prevent another major cleaning job for as long as possible. Prevention need not involve rigid rules or lengthy checklists. Small actions are effective when they become almost habitual.
Daily habits that actually work
- Run the extractor fan or open a window after every shower until the mirror has cleared.
- Use a squeegee on glass and tiles close to the seal to direct water away.
- Wipe once along the silicone edge with a towel; a quick pass removes droplets left behind.
- Hang bath mats and towels so that they can dry completely, rather than leaving them in damp folds.
- Repair slow drips from taps or shower heads, as a constant drip sustains a permanently damp area.
Once a month, some homeowners apply a highly diluted bleach solution or a mild anti-mould spray along the joints, leave it briefly, then rinse thoroughly and ventilate the room. The aim is not a sterile bathroom, but one in which moisture can arrive and disappear rather than settle into every crevice.
When replacing the seal is better than cleaning it again
No chemical treatment can repair silicone that is already lifting, cracked or peeling away from the tiles. In these circumstances, the dark line often indicates a more serious issue: water may be getting behind the joint and gradually damaging walls or floors.
Consider replacing the seal rather than repeatedly treating it if you notice any of the following:
- Clear gaps between the silicone and the tiles
- Loose, rubbery strips that can be lifted with a fingernail
- Ongoing musty odours near the bath, even after cleaning
- Brown or orange marks that continue spreading beyond the joint
Removing old silicone and applying new sealant requires patience, but it can cost less than repeated treatments and possible water damage. Many DIY shops stock low-odour sanitary silicones containing mould-resistant additives. In some areas, building regulations already encourage their use in new installations because they cope better with humidity over time.
What this trick reveals about modern home care
This discreet one-night cure reflects a wider change in the way people care for their homes. Instead of relying on fast, harsh sprays that claim miraculous results, more households are choosing slower, focused methods that suit everyday routines. Five minutes of preparation before bed, followed by a noticeable change in the morning, is more realistic on a weekday than reserving time for an occasional deep-cleaning weekend.
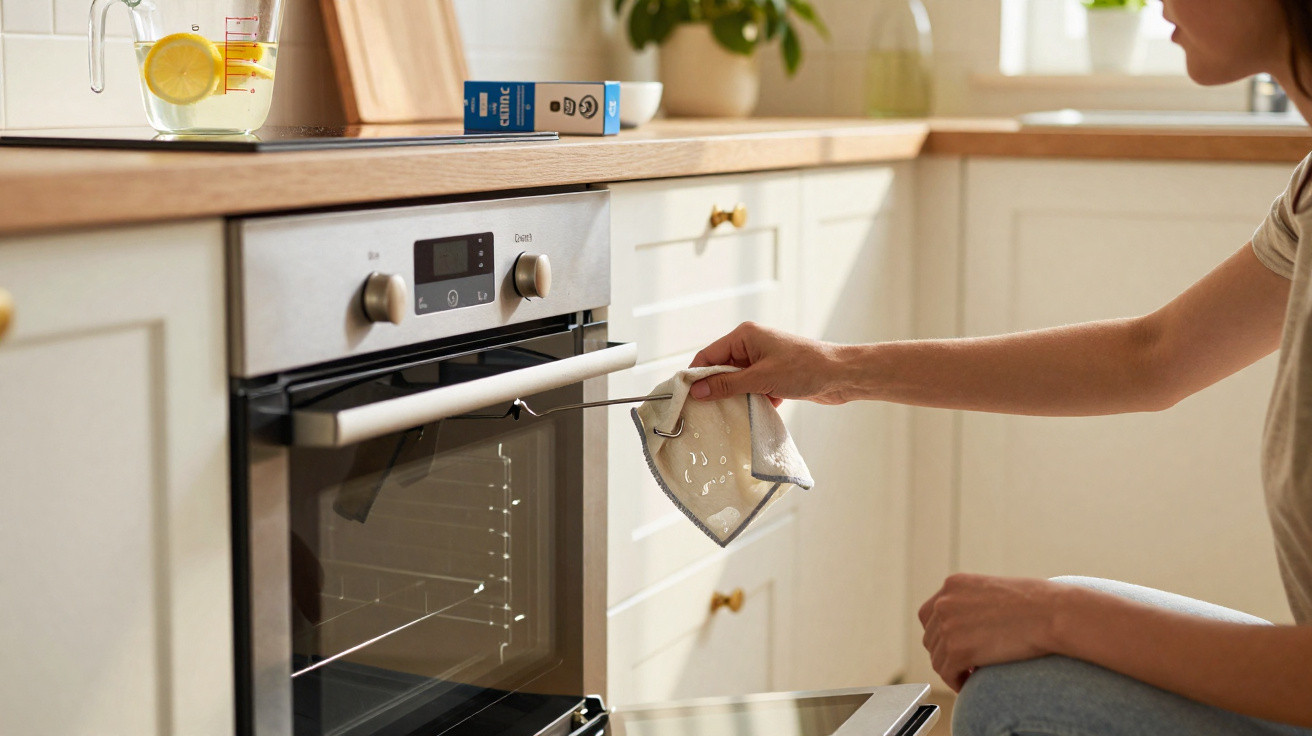
The same principle is evident elsewhere: enzyme-based laundry products that work at lower temperatures, leave-on oven gels in place of scouring pads, and descalers left overnight in kettles and shower heads. Time takes the place of brute force, while chemistry handles the demanding work in the background.
For anyone dealing with that troubling black line around the bath, the peroxide-and-cling-film method provides more than a cosmetic improvement. It restores a sense of control over a small but stubborn problem, with straightforward steps and understandable risks. Once you see the joint become lighter without hours of scrubbing, you may view other “impossible” household stains differently – not as proof of inadequate cleaning, but as a question of moisture, materials and patient chemical reactions waiting to be resolved.


Comments
No comments yet. Be the first to comment!
Leave a Comment