
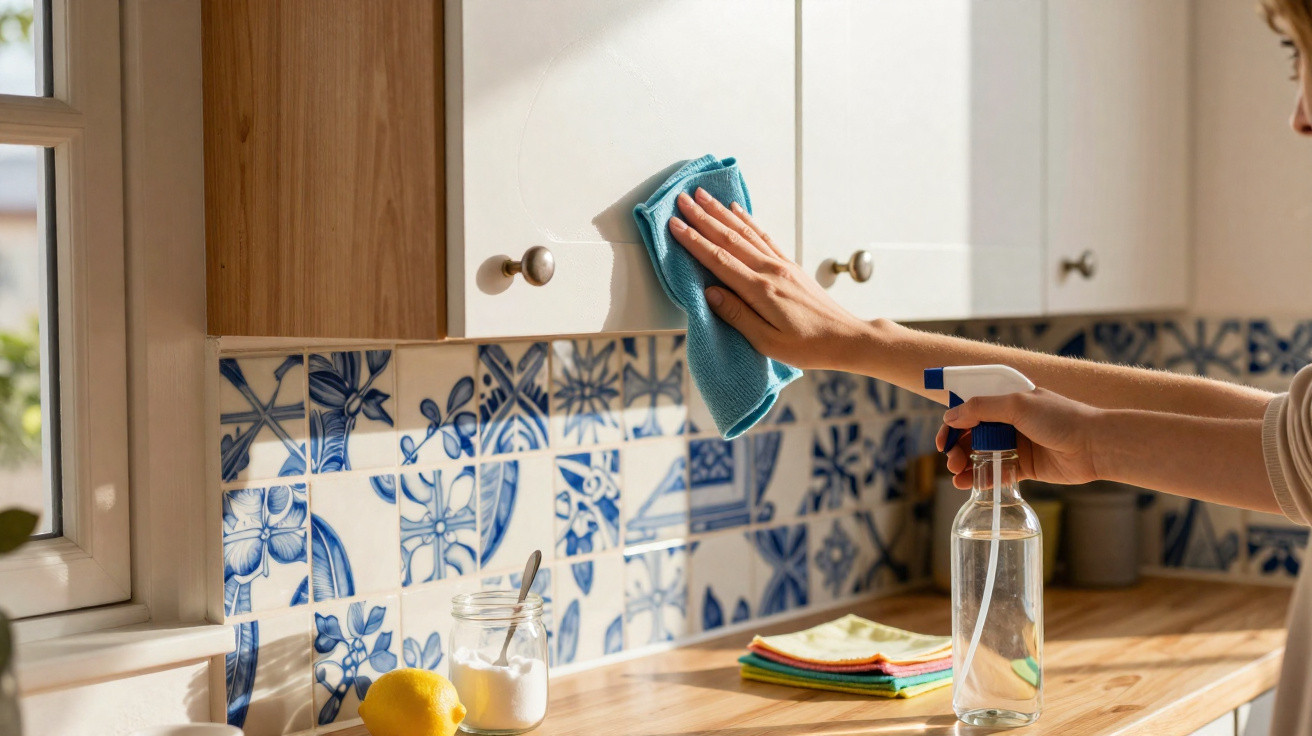
A cloudy film soon appears, and it can feel as though it returns the moment you remove it.
This haze is largely made up of cooking grease and dust produced during daily meal preparation. Here is how to remove it efficiently, protect your kitchen finishes and prevent the film from building up again.
Why grease sticks in modern kitchens
Open-plan homes allow cooking vapours to travel well beyond the hob. As air circulates, warm grease settles onto cooler cupboard surfaces, particularly upper doors and areas around handles. Combine this with steam and a little dust, and it forms a sticky coating that attracts further grime every day. Given enough time, this layer sets hard. Cleaning then becomes more difficult, while surface finishes are more likely to suffer.
Act early, go gentle, and let contact time do the hard work. Elbow grease should be the last resort, not the method.
Quick prevention that saves the scrub
A few simple routines can greatly reduce cleaning time while helping to preserve veneers, lacquer and brushed steel.
- After meals, wipe key areas with a damp microfibre cloth: around the hob, beside the kettle, on handles and along the row above the worktop.
- Put lids on pans that bubble or spit, and use a splatter screen when searing or shallow-frying.
- Cook beneath the extractor hood by positioning pans towards the centre of its airflow.
- Improve ventilation by opening a window slightly and leaving the extractor running for 10 minutes after cooking.
- Wash extractor hood filters every month using hot water and washing-up liquid, or in the dishwasher where the manufacturer’s manual permits it.
Two minutes with a warm microfibre beats a 40-minute deep clean next month.
Natural solutions by material
Stainless steel: shine without scratches
The aim is to dissolve grease, preserve the brushed direction and achieve an even finish. Avoid chlorinated products and aggressive powders, as these can stain and pit stainless steel.
Combine a teaspoon of lemon juice with several drops of olive oil. For the initial clean, dampen a soft cloth with warm water and a little washing-up liquid. Rinse the surface and dry it. Next, use the lemon-and-oil mixture sparingly, wiping in the direction of the grain before buffing dry. The acid helps release the film, while the oil evens out fine marks and helps resist fingerprints.
For regular maintenance, hot water and a pea-sized amount of washing-up liquid are effective. Rinse and dry straight away to avoid limescale marks.
Wood: clean, protect, respect the grain
Wood does not tolerate soaking. Use very little liquid, clean lightly and dry promptly. Mix a small amount of Marseille soap into warm water. Moisten a microfibre cloth, then wring it out thoroughly. Clean small areas at a time, following the grain. Afterwards, use a dry cloth to remove any remaining moisture or residue.
For older marks, mix bicarbonate of soda and water into a gentle paste. Dab it onto the affected area, leave it for a few minutes and lift it away carefully. Do not rub it into the surface. Test any method on an inconspicuous area first. Once the wood looks refreshed, nourish it occasionally with a light coat of linseed oil or a specialist interior wood oil. Remove all excess completely. The wood should feel protected rather than sticky.
Lacquered or high-gloss: sparkle without micro-scratches
Glossy cupboard doors reveal even the smallest imperfection. Make sure cloths are free from grit and avoid all abrasive products. Mix warm water and white vinegar in equal quantities. Spray the cloth lightly rather than the door itself, then wipe with minimal pressure. Use a clean damp cloth afterwards and dry the surface for a streak-free result.
Stubborn spots can be treated with washing-up liquid. Alternatively, allow a small amount of vinegar to fizz against bicarbonate for a few seconds, then wipe and rinse gently. Should anyone recommend coffee grounds for “mild abrasion”, test only in a hidden area and apply virtually no pressure. Even light abrasives may take the shine off gloss finishes.
| Surface | Go-to solution | Contact time | Avoid |
|---|---|---|---|
| Stainless steel | Warm water + washing-up liquid, finish with lemon + a drop of oil | 30–60 seconds per section | Bleach, chloride cleaners, scouring pads |
| Wood | Very wrung microfibre + Marseille soap; optional thin wood oil | Short, wipe and dry immediately | Soaking, strong alkalis, heavy abrasion |
| High-gloss lacquer | Half water, half white vinegar; gentle wipe and dry | 30 seconds, then rinse and dry | Abrasive powders, gritty sponges, direct spraying |
Safety and routine that lasts
Always carry out a patch test first. Finishes respond differently, and older kitchens can produce unexpected results. Select a discreet area and look for any dulling, lifting or other change.
Clean in the right sequence. Remove dust first, then apply your chosen cleaner and allow it a short time to work. Wipe using a fresh section of the cloth. Rinse where necessary, then dry until the surface squeaks. This final stage prevents water halos and quickly restores that newly cleaned appearance.
Never combine vinegar with bleach or chlorinated cleaners. Use gloves if your skin is prone to dryness, and open a window so the vinegar smell disperses quickly.
- Two-minute daily: use a warm microfibre cloth with a drop of washing-up liquid on cupboard doors near the hob and on handles; dry immediately afterwards.
- Weekly: lightly degrease fronts opposite the cooker; clean handles and edges; inspect plinths and end panels.
- Monthly: wash extractor hood filters and clean the tops of units, where grease film can settle out of sight.
When grease has aged
Put the scrubber aside. Heat and contact time are more effective. Place a hot, well-wrung microfibre cloth over the affected area for several minutes to soften the film.
Choose the appropriate cleaner for the material, leave it in place briefly, then use several gentle wipes rather than one forceful rub. Replace or refold the cloth as soon as it starts dragging. Repeat as needed. Patience works better than pressure every time.
Dry carefully to finish. For brushed steel, make the final buff in the direction of the grain. On wood, ensure no dampness remains in joints or decorative grooves.
If a mark won’t shift after three gentle rounds, stop and reassess. The finish might be damaged, not dirty.
What a minimalist cleaning kit looks like
There is no need for a cupboard packed with bottles. Store a small cleaning caddy nearby and you are far more likely to use it.
- Two good-quality microfibre cloths: one for washing and one for drying.
- White vinegar and Marseille soap.
- Washing-up liquid and bicarbonate of soda.
- A soft brush for handles and profile edges.
- Optional: linseed or interior wood oil; a small bottle of lemon juice.
Why this approach pays off
Mild cleaning products preserve coatings and can delay the expense of refacing. Microfibre cloths lift grease mechanically, meaning less product and water are required. Brief daily wipes prevent build-up, keeping the weekly clean manageable. This saves time, energy and a considerable amount of frustration.
For renters, gentle products can help avoid disputes about damage. In homes with children or pets, low-fume routines keep the air more comfortable. In hard-water areas, drying quickly prevents chalky deposits from setting in place.
Extra context for UK homes
For premium lacquers and matt finishes, consult the manufacturer’s care guidance for pH recommendations. Certain coatings require neutral cleaners, while alcohol may haze some soft-touch doors. If the kitchen is covered by a warranty, use approved products to prevent problems later.
The time calculation is useful. Two minutes each day amounts to around 14 minutes per week. Miss that routine for a month and you could be looking at a 60–90 minute degreasing job, with greater risk to the finishes. Short, gentle cleaning wins over the course of a year.
A final note on risk: abrasive powders and green scourers create micro-scratches that trap more grease the next time. Surfaces become duller and harder to clean. Gentle routines prevent that cycle. Keep cloths clean, rotate them regularly and discard any that start to feel rough.
When a cupboard door still feels sticky after cleaning, too much product may have been used or residue may have been left behind. Rinse with warm water, dry fully and use less next time. The goal is a clean, dry surface, not one that is perfumed and wet. That is the quiet trick to keeping cupboards looking new in the late afternoon sun.


Comments
[url=https://kamennyj-stol-hutor.clients.site]Дикий отдых на озере[/url] подойдёт тем, кто ценит природу, простор и возможность самостоятельно планировать каждый день. Утро начинается с красивого вида на воду, днём можно рыбачить, гулять по лесу или отдыхать у берега, а вечером готовить еду на костре. Палатка становится удобным местом для ночёвки, а свежий воздух и спокойная атмосфера помогают полностью переключиться с городского ритма. Отличный вариант для небольшой компании или семейной поездки.
Come enjoy our full suite of casino games https://kazino-mineslot.ru
Come enjoy our full suite of casino games https://kazino-aviamasters.ru
Cryptocurrency casino promoters. Navigating restrictions needs stealth and volume. This silo stores camouflage gear for Xrumer and GSA deployments. Opportunity cost analysis favors immediate acquisition. Market making activity: provided liquidity to smaller buyers during peak holiday seasons when prices usually spike.
https://dseo24.monster
Leave a Comment