
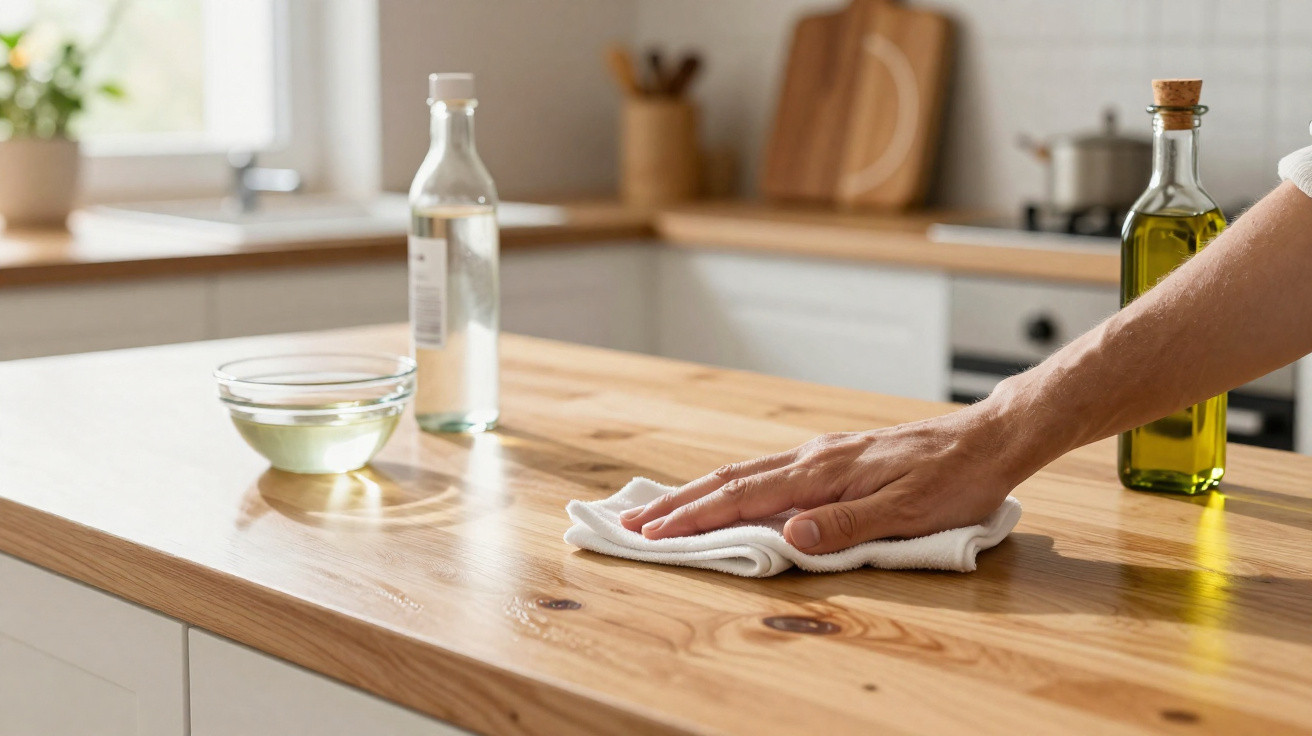
Wood brings warmth to a kitchen, yet it quickly shows minor marks, splashes and areas that have lost their sheen. Before buying a specialist product, a few cupboard staples can be used for occasional care of these surfaces. One very simple solution combines an edible oil with a common household product, provided a few precautions are observed.
The right proportions for refreshing wooden surfaces
This recipe works through two separate effects. White vinegar helps lift light dirt and certain marks left on the surface. Olive oil, meanwhile, creates a more satin-like finish and can reduce the appearance of dry or dull-looking wood.
The recommended ratio for this mixture is specific: use five tablespoons of olive oil to six tablespoons of white vinegar. The quantity of six therefore applies to the vinegar. This distinction matters, as too much oil could leave a greasy layer on furniture and worktops.
“When caring for wood, the aim is not to soak it: a thin layer worked in with a cloth is more than enough.”
Pour both liquids into a clean, small spray bottle. Close it and shake vigorously immediately before every use. Oil and vinegar do not stay blended for long, as they naturally separate after a short time. Shake the bottle again if the cleaning takes a while.
How to use the mixture without leaving marks
This approach is mainly suitable for decorative wooden items or kitchen furniture: a table, trolley, shelves, chair frames or sideboard fronts. It calls for a measured approach, especially close to food-preparation areas.
- First, remove dust from the surface using a soft, dry cloth.
- Spray a very small amount of the mixture onto the cloth rather than directly onto the wood.
- Wipe gently, following the visible grain of the material.
- Leave it for a few moments, without allowing the liquid to sit on the surface.
- Use a second clean, dry cloth to remove any greasy feel.
A microfibre cloth is often a good choice because it absorbs excess product effectively without scratching a delicate surface. Avoid abrasive sponges, wire wool and stiff brushes. They can cause fine scratches, particularly on varnished or already worn wood.
Why the second cloth makes all the difference
The drying stage is sometimes overlooked. However, it prevents the oil from trapping dust and crumbs after cleaning. A surface that looks glossy immediately after application may become sticky a few hours later if it has not been buffed thoroughly enough.
Run the second cloth over the whole area with broad, even movements. It takes up the excess and evens out the finish. On a family table, this final step also reduces the risk of transferring an oily film onto forearms, crockery or fabrics.
Test a hidden area before treating an entire piece of furniture
Not all wood tolerates this type of mixture. An antique piece, thin veneer, a waxed surface or a worktop with a particular treatment may react differently. A ring mark, colour variation or overly glossy patch can still occur.
“Before applying anything, test the mixture on a concealed section: beneath a table, inside a cupboard or at the back of a shelf.”
Allow the test area to dry, then inspect it in daylight. If the colour remains unchanged and the surface feels dry, you can consider cleaning a more visible section. When in doubt, it is best to follow the care guidance supplied by the furniture manufacturer.
This precaution is especially important for worktops. Some solid wood models require a dedicated protective oil, while others have a varnish or coating that does not need this treatment. Even in small amounts, white vinegar may be unsuitable for certain delicate finishes.
Another option for circular marks
A round mark left by a glass can sometimes appear on a table or sideboard. For a small, localised mark, another mixture is suggested: pour olive oil into a half-filled glass, then add a pinch of fine salt.
Apply this blend to the affected area with a soft cloth. Leave it to work for around five minutes, without rubbing hard. Then remove everything with a clean cloth and buff gently. The salt acts as a mildly abrasive ingredient, so use only a small amount and avoid this method on very delicate varnish.
- Keep this tip for small, superficial marks only.
- Do not use it on a crack, scorch mark or deeply ingrained stain.
- Avoid applying too much pressure in circular motions, as this can damage the finish.
- Stop straight away if the wood changes colour as the cloth passes over it.
Simple steps to keep wood in good condition
This mixture is not a replacement for care suited to the material, but it can be useful between more thorough cleans. In a kitchen, regular attention often protects surfaces better than intensive treatments. Wiping up a drop of water, sauce or grease splash promptly prevents it from soaking into the fibres.
Very hot items should also always be placed on a trivet. A pan taken off the hob or a scalding mug can leave a lasting mark, even on treated wood. Using coasters for glasses significantly reduces the appearance of white rings.
Lastly, keep the mixture in its bottle only for a short time and store it out of children’s reach. Label it clearly so that it cannot be mistaken for food. A well-maintained kitchen does not necessarily require a collection of bottles: a clean cloth, controlled quantities and a preliminary test are often enough to preserve the look of wood.





Comments
No comments yet. Be the first to comment!
Leave a Comment