
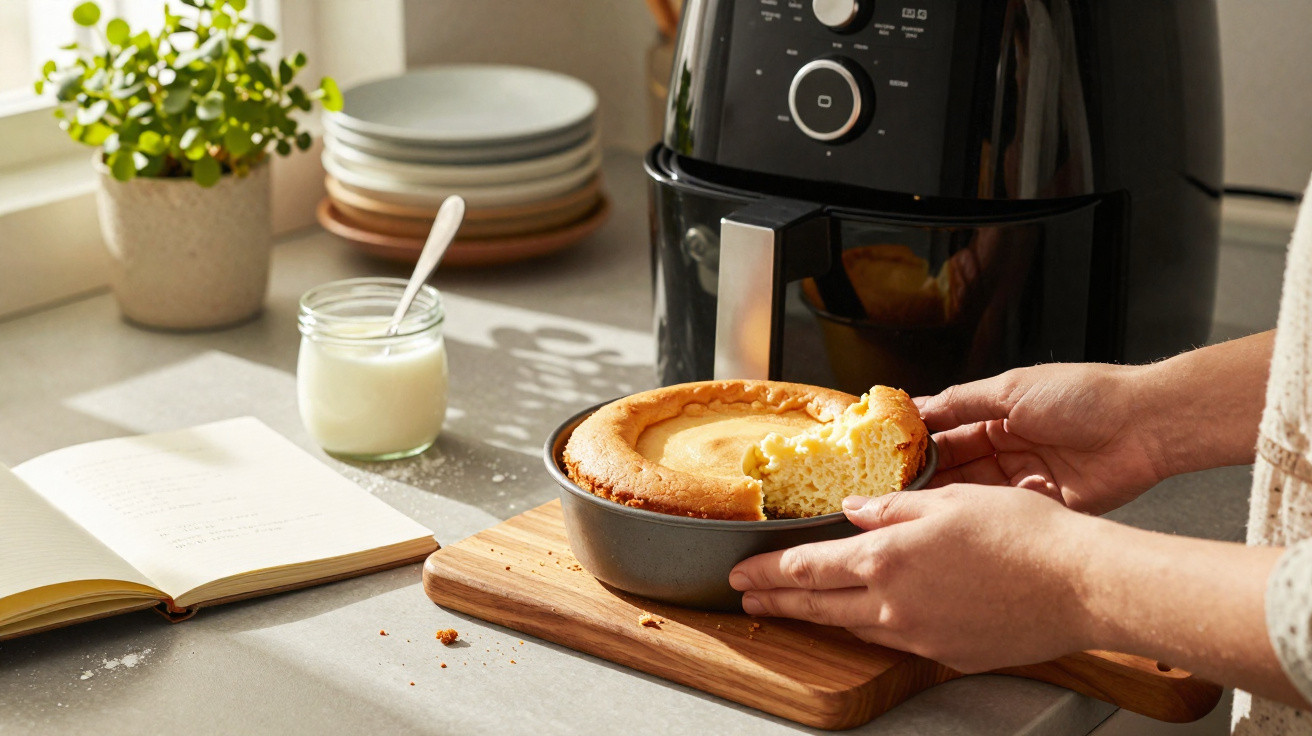
Air fryers are no longer seen solely as appliances for crisp chips. Increasingly, people are using them to bake bread, muffins and cakes too. However, anyone who simply transfers a usual recipe without changes is often disappointed: a blackened exterior, uncooked batter in the middle and a faint smell of burnt fat. The recipe is rarely to blame; incorrect appliance settings almost always cause the problem.
Why classic yoghurt cake often goes wrong in an air fryer
Inside an oven, heat is distributed comparatively evenly throughout the cavity. Air moves more slowly, giving the cake’s surface time to rise gently while the centre cooks. An air fryer works differently: its heating element and powerful fan drive hot air directly and intensely onto the batter.
Starting at the familiar 180 °C can therefore create several issues at once:
- The top browns and caramelises extremely quickly.
- The centre remains liquid because the heat cannot penetrate deeply enough.
- The cake rises sharply at first, then collapses as it cools.
The construction of many appliances adds another complication: the cooking chamber is small and the heating element sits close above the tin. If it is filled too high, the cake rises straight towards the element. In the worst case, the batter touches the top, begins to smoke and takes on a bitter flavour.
Another common mistake is pressing the cake tin directly against the wall of the basket or drawer. This prevents air from circulating freely. The result is a cake that is cooked on the outside but remains dense and underbaked within.
“Anyone who treats an air fryer as a mini oven loses. Anyone who uses its particular qualities gains a surprisingly fluffy cake – and saves energy.”
The ideal basic settings for airy yoghurt cake in an air fryer
Tests with a range of recipes point to a particularly reliable approach for a classic yoghurt cake: use a noticeably lower temperature and a slightly shorter baking time than in an oven.
For a round tin measuring 16 to 18 centimetres in diameter, use these settings as a guide:
- Temperature: 160 °C
- Baking time: around 25 minutes
- Fill level: no more than two thirds of the tin
This combination makes use of the strong circulating air without scorching the surface. Heat reaches further into the batter, allowing the cake to bake more evenly while staying moist in the middle.
Choosing the right cake tin makes a major difference
A silicone mould or a small springform tin is particularly suitable for an air fryer. Silicone retains less heat than heavy metal tins and does not heat up as aggressively, giving the batter a little more time. A springform tin can be placed easily on the supplied rack or insert.
- The tin should be clearly smaller than the basket or drawer.
- Leave at least one to two centimetres of space on every side so that air can circulate.
- Do not block the base of the cooking compartment completely; never wedge a baking tray exactly against the bottom.
This is practical for another reason: while a conventional oven often uses around 3000 watts, many air fryer models operate at 1500 to 2000 watts. Baking therefore uses less electricity, especially because the appliance heats up faster and has a smaller cooking chamber.
Step-by-step guide: yoghurt cake in an air fryer
The basic mixture for the familiar yoghurt-pot cake can be used without difficulty. What matters most is the later choice of temperature, time and placement in the appliance.
Batter for classic yoghurt cake
As usual, use the empty yoghurt pot as the measure. The following quantities are enough for a small tin:
- 1 pot natural yoghurt
- 3 pots flour
- 2 pots sugar
- 1/2 pot neutral oil, such as sunflower or rapeseed oil
- 1/2 sachet baking powder
- 2 eggs
- Finely grated zest of an organic lemon, if desired
For a plant-based version, choose soya yoghurt. Unsweetened apple purée works surprisingly well in place of eggs: around 100 grams replaces two eggs, providing both binding and moisture.
Baking the yoghurt cake in the air fryer
- Preheat the air fryer to 160 °C.
- Grease the tin or line it lightly with baking parchment.
- Pour in the batter, stopping no closer than two centimetres below the rim.
- Position the tin in the centre of the basket, leaving space for air on all sides.
- Cover the surface loosely with baking parchment for the first 15 minutes.
- Remove the parchment after 15 minutes and continue baking the cake uncovered.
- After roughly 25 minutes in total, test the centre with a thin knife or wooden skewer. If it comes out clean, the cake is ready.
“The baking-parchment trick at the start slows down the direct heat from above. This keeps the crust pale while the middle has time to catch up.”
Converting an oven recipe for an air fryer
Many people already have favourite oven recipes. In most cases, these can be adapted with very little effort. One simple rule of thumb is helpful:
- Set the air fryer temperature around 20 °C lower than the oven temperature.
- Initially reduce the planned baking time by about one quarter.
- Test whether it is cooked after two thirds of the estimated time.
If the cake is too dark, cover it earlier next time or lower the temperature a little further. If it remains raw inside, fill the tin less deeply or extend the baking time by a few minutes.
Storing and refreshing yoghurt cake in an air fryer
A successful yoghurt cake keeps for two to three days at room temperature when stored in an airtight container. It stays fresh for up to five days in the fridge, while individual slices can even be frozen for around three months.
The air fryer is ideal for freshening up leftover slices. Simply heat one piece at 160 °C for three to five minutes. The outside becomes lightly crisp again, while the centre turns pleasantly warm and soft.
Why an air fryer is especially appealing for small households
Baking a traditional cake in the oven is often only worthwhile for a larger group. An air fryer comes into its own for one or two people who still fancy homemade cake. Smaller tins and shorter baking times mean fewer leftovers and lower electricity costs.
Many appliances also preheat in only a few minutes. Anyone arriving home late can mix a batter in ten minutes, bake a yoghurt cake in just over 25 minutes and be sitting on the sofa with a still-warm slice half an hour later.
Risks and limitations of baking in an air fryer
Despite all its benefits, an air fryer is not a complete replacement for every baking project. Deep loaf cakes or very wet batters often need the more even heat of an oven. Large quantities for family celebrations simply will not fit inside.
However, those who understand these limits can use them deliberately: shallow sponge cakes, small Bundt cakes, muffins and brownies often work exceptionally well. The key is to test new recipes first with a slightly smaller quantity, then gradually find the ideal combination of temperature, time and tin.
Ultimately, classic yoghurt cake does not have to depend on an oven. With a few adjustments, the air fryer becomes a practical everyday helper that produces a light, fluffy cake quickly – without a burnt crust or a half-raw centre.
Comments
• Керамика (стоматологический фарфор) — в чистом виде керамика отличается хрупкостью, но современная промышленность использует её для создания инновационных материалов (стеклокерамика, микрокерамика).
Для изготовления зубных протезов используют различные материалы, например:
Процесс изготовления съёмных зубных протезов включает несколько этапов: Первичный осмотр и планирование лечения https://adentalab.ru/
Стоматолог оценивает состояние дёсен, оставшихся зубов (если они есть), а также общий объём работы https://adentalab.ru/
После осмотра составляется план лечения, где указывается тип протеза, материалы, которые будут использоваться, и необходимые этапы работы https://adentalab.ru/
1 https://adentalab.ru/
Снятие слепков и подготовка https://adentalab.ru/
После первичного осмотра стоматолог снимает слепки с обеих челюстей пациента https://adentalab.ru/
В лаборатории по этим слепкам создаётся гипсовая модель челюстей пациента https://adentalab.ru/
Некоторые виды зубных протезов, которые изготавливают в стоматологии:
Минусы данной технологии:
Фасонное литьё по технологии ХТС
Низкий расход металла https://korpus.ru/politika_confid_npo_tehnolit
При литье под давлением потери минимальны и главным образом приходятся на литник и направляющие https://korpus.ru/
Решить проблему позволяет установка спиральных нагревателей, которые не дают расплаву застывать в литниковых каналах https://korpus.ru/
Такие пресс-формы называют горячеканальными https://korpus.ru/politika_confid_npo_tehnolit
Литье под давлением позволяет получать отливки высокого качества, достигая точности: от 9-го до 11-го квалитета по размерам в одной части пресс-формы и от 11-го до 12-го – в двух https://korpus.ru/politika_confid_npo_tehnolit
На высокой скорости (более 30 м/с), приводящей к распылению расплава по внутренней поверхности камеры и захвату большого количества воздушных пузырьков, которые отрицательно влияют на прочность отливок https://korpus.ru/
Для удаления воздуха давление доводят до 500 МПа https://korpus.ru/politika_confid_npo_tehnolit
Для литья под давлением применяется два вида оборудования:
снижение объёма механической обработки
Такими свойствами обладают сплавы, в состав которых входят цинк, алюминий, магний и медь https://korpus.ru/
Leave a Comment