
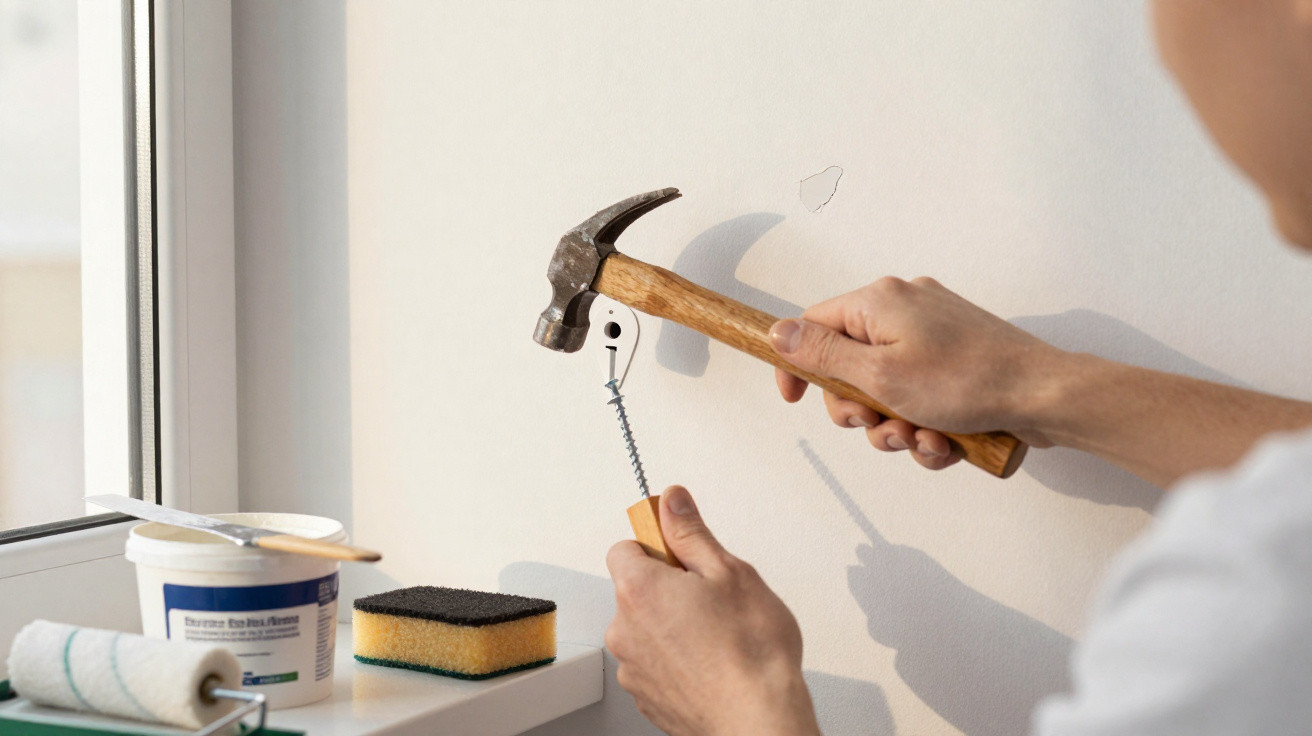
Once picture frames, mirrors and shelves have been taken down, a less appealing sight often appears: walls peppered with old plastic plugs sitting partly beneath the plaster. Pull them out too quickly and a small fixing hole can become a crater that needs extensive repainting. Use the right technique instead of brute force, and the marks can be repaired so neatly that you may struggle to find them again.
Why pulling out a wall plug can damage the wall
Many DIY mishaps follow an identical pattern: pliers, a resistant plug and a flash of impatience. You clamp it, tug hard, the plug eventually comes free - along with a piece of plaster.
Wall plugs are engineered not to come out. Fighting that design head‑on usually means sacrificing the wall itself.
Traditional nylon plugs used in solid brickwork and metal cavity fixings fitted in plasterboard work differently, but have a key quality in common: they resist being pulled out. A plug either grips tightly against the drilled hole or expands behind the board like an umbrella. When it is pulled directly towards you, the fragile plaster around it, rather than the plastic or metal, is usually the first thing to fail.
The consequences are well known: flaking paint, a tapered hole much bigger than the drill bit, and sometimes fine cracks spreading from the damaged area. What began as a simple redecorating task can soon become a small renovation job.
Removing wall plugs cleanly: create a grip and use leverage
The tidy approach to wall plug removal relies on precision rather than power. First create a secure point to grip, then gradually work the plug free instead of wrenching it from the wall.
The essential kit for the job
Most homes contain everything needed for a repair that looks professionally finished. Collect the following before you start:
- A screw that fits into the plug, or is marginally narrower
- Flat-nose pliers or adjustable pliers
- A screwdriver that matches the screw head
- A flexible filling knife or decorator’s spatula
- Ready-mixed filler or powdered filler
- Fine sandpaper, roughly 120–180 grit
Swapping brute force for a screw, a pair of pliers and a bit of patience is the real “secret trick”.
Step 1: fit a screw to make a “handle”
Older plugs are commonly level with the wall surface or set a little below it, so there is nothing to hold. A screw solves this problem. Place it in the plug and turn it only a few times; a depth of 1–2 cm will normally be sufficient.
You are not trying to attach anything to the wall again. Instead, the screw forms a firm metal handle. As it bites into the plug, it holds securely, allowing you to grip solid steel rather than trying to catch degraded plastic.
Step 2: rock the plug free with leverage
Hold the screw head firmly with the pliers. Do not simply pull straight out. Instead, gently rock the screw from side to side or up and down, while applying slight, consistent outward pressure.
For a particularly tight plug, rest one section of the pliers against the wall and place folded cardboard or a thin offcut of wood beneath it to avoid marking the paint. You can then use the pliers as a lever, increasing the force applied while reducing strain on the plaster around the hole.
The right gesture looks almost lazy: a slow, rocking pull that lets the plug slip out, instead of tearing the plaster with it.
When done properly, the plug should release with a quiet “pop”. The remaining hole will be clean and cylindrical, only slightly wider than the drill bit used originally. It is then straightforward to fill without leaving a visible repair.
Filling the hole so it disappears completely
After removing the plug, it can be tempting to use any white paste to hand and spread it over the hole. That quick fix nearly always becomes apparent later, particularly when low-angle light falls across the wall.
Selecting the right filler
Avoid toothpaste and soap: both can discolour, crumble and crack. Proper decorating fillers are inexpensive and much more durable. Use this general guide:
| Hole size / situation | Best type of product |
|---|---|
| Small plug holes (up to ~10 mm) | Ready-mixed lightweight filler in a tub or tube |
| Larger cavities or heavy-duty plugs removed | Powder filler mixed with water, labelled as “repair” or “patching” compound |
| Exterior or damp-prone areas | Exterior-grade or moisture-resistant filler |
Ready-mixed filler is straightforward for beginners to use and generally dries fairly fast. Powder filler creates a more solid fill and contracts less during drying, making it particularly useful for larger holes.
Filling technique: press it in deeply and overfill slightly
Put a small amount of filler on the end of the spatula, then push it firmly into the hole so that it reaches the very back. This expels trapped air, which could otherwise leave a noticeable hollow later.
Always leave a slight bump of filler on the surface. You will sand it flat once it has hardened.
Pass the spatula over the hole several times from different directions. Crossing the strokes helps blend the new filler into the existing wall surface. Do not try to make it perfectly flush immediately. Filler always shrinks a little as it dries, so leaving a small excess now can prevent the need for another application.
Sanding and repainting the repair without visible marks
When the filler has dried fully - from a few hours to overnight, depending on the product and the depth of the hole - you can finish the surface.
Sanding finely for a smooth finish
Fold the fine sandpaper and sand using light circular movements. Avoid pressing too hard: you only need to remove the raised filler, not create a dip or damage the surrounding paint.
Check the area regularly by running your fingertips over it. Your skin can detect very small bumps and depressions remarkably well. Once you cannot feel a transition between the filler and the original wall, it is ready to paint.
Blending paint so the repair cannot be seen
Having some of the original paint gives you a distinct advantage. Mix it thoroughly, then apply just a small amount to a brush or mini roller.
The trick is not just colour matching, but softening the edges of your touch-up so the eye can’t spot a patch.
Paint the repaired area first, then use lighter strokes to blend the paint beyond it into the surrounding wall. Do not leave sharp borders or obvious shapes. Once dry, a soft and irregular edge is far less noticeable than a neat square patch.
On particularly old walls, the existing paint may have faded enough for even a well-matched colour to appear newer. In that situation, extending the touched-up area or repainting the full section between two corners or mouldings will often produce a much better finish.
Why this wall plug trick makes decorating easier
Knowing you can remove previous fixing points cleanly makes it easier to be adventurous with interior décor. You can rearrange artwork, try a gallery wall or reposition shelves without worrying that every alteration will leave permanent evidence behind.
This technique can be especially important for tenants. Many tenancy agreements state that walls must be returned “in good condition”. Being able to take out plugs neatly and refill the holes may be the difference between an uncomplicated check-out and an argument about your deposit.
Common problems and how to prevent them
A few potential issues are still worth bearing in mind:
- Very crumbly plaster: If plaster starts breaking away around the hole while you pull, pause and support the edge with tape or your fingers. In severe cases, it is better to make a neat, slightly larger opening and fill it than to continue battling loose fragments.
- Hidden pipes or cables: Since the plug marks an existing drilled hole, there is less risk while removing it than when drilling. Nevertheless, work gently. If the area around the fixing feels unusually hollow, handle it with extra care.
- Impatience with fresh filler: Sanding or painting before filler has dried completely can cause cracking and leave a patchy, dull result. If you are unsure, allow more drying time.
A short glossary for beginners
Two useful terms can make product labels and DIY instructions easier to understand:
- Plasterboard (drywall): Lightweight boards fixed to a frame and frequently found in modern properties. They are more easily damaged than solid brick or blockwork, which makes a gentle method particularly important.
- Filler “shrinkage”: The small loss of volume that occurs as water evaporates from filler. Lower shrinkage means fewer applications are required.
With a little care, the screw-and-pliers method, followed by proper filling and finishing, gives walls a fresh start. Shelves can be removed or replaced, frames can move as your tastes change, and a room can take on a new character without retaining a dotted record of every screw ever installed.






Comments
No comments yet. Be the first to comment!
Leave a Comment