
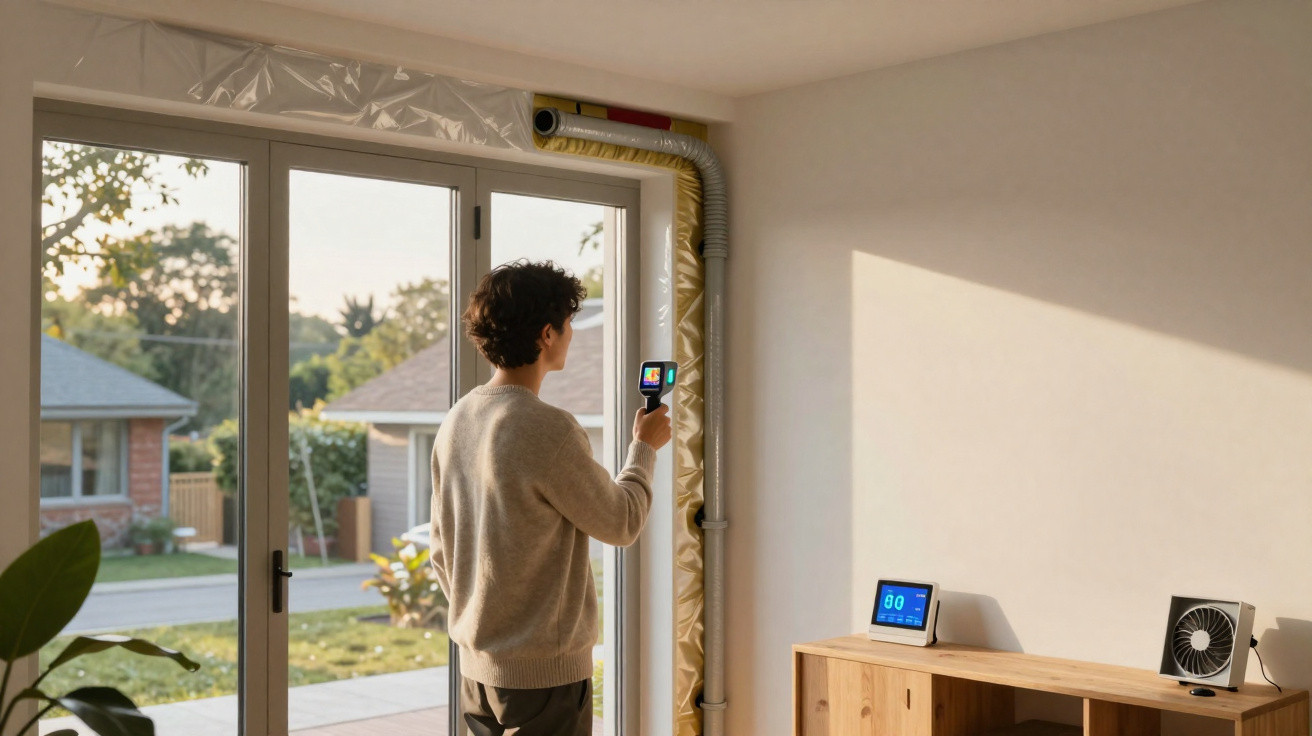
I assumed the insulation work would solve everything: cosier rooms, lower bills and fewer complaints during winter. But then the site engineer pointed out the leaks, vents and system controls I had overlooked. Only then did the house begin to make sense, with savings arriving without sticky notes on every radiator.
Comfort starts before the meter
Most people expect the first change to appear in the figures. More often, you feel it physically. There are fewer chilly corners, no irritating draught beneath the skirting boards, and walls that no longer make you shiver when you touch them. As surface temperatures become warmer and more consistent, comfort no longer means searching for the warmest spot. Condensation recedes. Every room becomes equally usable, rather than relying on the one with the sunlit chair.
External insulation reduces heat escaping through the building envelope while also slowing heat entering on summer afternoons. It effectively flattens the peaks. The boiler or heat pump runs in fewer cycles, indoor temperature fluctuations narrow, and energy costs fall because the home is no longer working against itself.
Insulation shines when the house works as a team: airtight shell, clean ventilation, tuned system, and no sneaky thermal bridges.
What makes insulation genuinely effective
Whether that new “coat” delivers value comes down to three checks: airtightness, ventilation and system balancing. Neglect one, and the benefits escape in another form.
Airtightness: the silent partner
Heat is not lost through walls by conduction alone; uncontrolled airflow carries it away too. Openings around loft hatches, sockets on external walls, old roller-shutter boxes and window frames all create continual losses. Close these using gaskets, tapes and airtight back boxes. Arrange a blower-door test both before and after the work. For existing homes, a reasonable aim is around 3–5 air changes per hour at 50 Pa, while many older properties begin above 8 ACH50. Each reduction cuts draughts and lets your insulation perform properly.
Chase the leak with a smoke pencil on a windy day. If the smoke bends at a socket, that’s not a party trick. It’s your money leaving.
Ventilation without unnecessary loss
Fresh air remains essential, but leaving windows wide open can lose heat within minutes. Ventilate in a more considered way instead. In winter, use brief, intensive airing periods, or install single-room mechanical heat-recovery units where humidity is consistently high. Bathrooms and kitchens should take priority. Keep relative humidity indoors at roughly 40–55%. This range supports lungs, timber floors and paintwork, while helping to prevent mould once cold surfaces have warmed.
Adjust the heating system
After insulation, the heating system should operate in smaller doses. Reduce the flow temperature, balance the radiators and set thermostatic valves according to how each room is used. Heat pumps require an appropriate heating curve and longer, gentler operating periods. Boilers work best with lower setpoints and weather compensation. Once you have changed the building fabric, the controls must be updated too; otherwise, it is like driving with the handbrake on.
- Seal visible gaps before cold weather arrives, including loft hatches, pipe penetrations and window perimeters.
- Address thermal bridges at balconies, lintels and slab edges, or fit targeted insulation.
- Alter flow temperatures and schedules once work is complete, then monitor them for a week.
- Introduce summer shading, such as external blinds, shutters or even climbing plants on the sunniest elevation.
- Use small humidity and CO₂ monitors to inform habits rather than relying on guesswork.
Summer is as important as winter
External insulation has another role in July: it slows the afternoon heat surge, which commonly reaches its high point between 3 and 6 p.m. Denser materials provide greater time lag, meaning indoor temperatures reach a lower peak later in the day. Combine this with external shading and night-time purging, and peak room temperatures can drop by several degrees. Your fan gets a break, while the heat pump avoids costly operation during hot hours.
How much money are we talking about?
Results differ according to climate, wall construction and the property’s starting condition. Many retrofit projects record heating-energy reductions of 20–40% when insulation is combined with air sealing and control adjustments. Infiltration by itself frequently represents 15–30% of space-heating demand in draughty homes. Reduce it, and the boiler has a much easier job.
Prices also vary. In the UK, straightforward external wall insulation generally costs £90–£150 per square metre, with scaffolding and detailed finishing charged in addition. In the US, costs are typically $12–$25 per square foot, depending on the finish and any repairs required. Payback is faster when grants are available or fuel prices increase. Look into local support, including the Great British Insulation Scheme or state-level rebates under federal incentives in the US.
| Element | Quick check | Why it pays |
|---|---|---|
| Airtightness | Blower-door test; target 3–5 ACH50 after works | Fewer draughts and improved comfort at lower thermostat settings |
| Ventilation | Humidity 40–55%; increase extraction where you cook or shower | Healthier air, reduced mould risk and less heat lost through airing |
| System tuning | Lower flow temp; balance radiators; update schedules | Longer cycles, lower cycling losses and quieter operation |
| Thermal bridges | Thermal imaging on a cold morning | Warmer corners, stable paint and plaster, real-life efficiency |
External insulation materials are not one-size-fits-all
Expanded polystyrene offers strong winter performance at a keen price. Mineral wool provides fire resistance alongside improved sound control. Wood fibre delivers density and a useful summer delay. The right choice depends on street noise, solar exposure, planning requirements and budget. Any of these materials can fail if gaps or poor wet detailing develop around edges, sills and balcony slabs.
If you can only do one thing this year, fix the leaks. If you can do two, add ventilation you can trust. Insulation then shows its true value.
What to request before accepting a quote
Successful projects begin with proper documentation. Ask for U-value calculations, junction details and an explanation of how the installers will treat corners, pipe penetrations and vents. Ensure a blower-door test is included in the contract. Verify the fire barriers and fixings specified for the substrate. Establish where scaffold ties will be fixed and how those points will be repaired afterwards. Demand a final inspection during rain, not only in dry sunshine.
Common mistakes to avoid
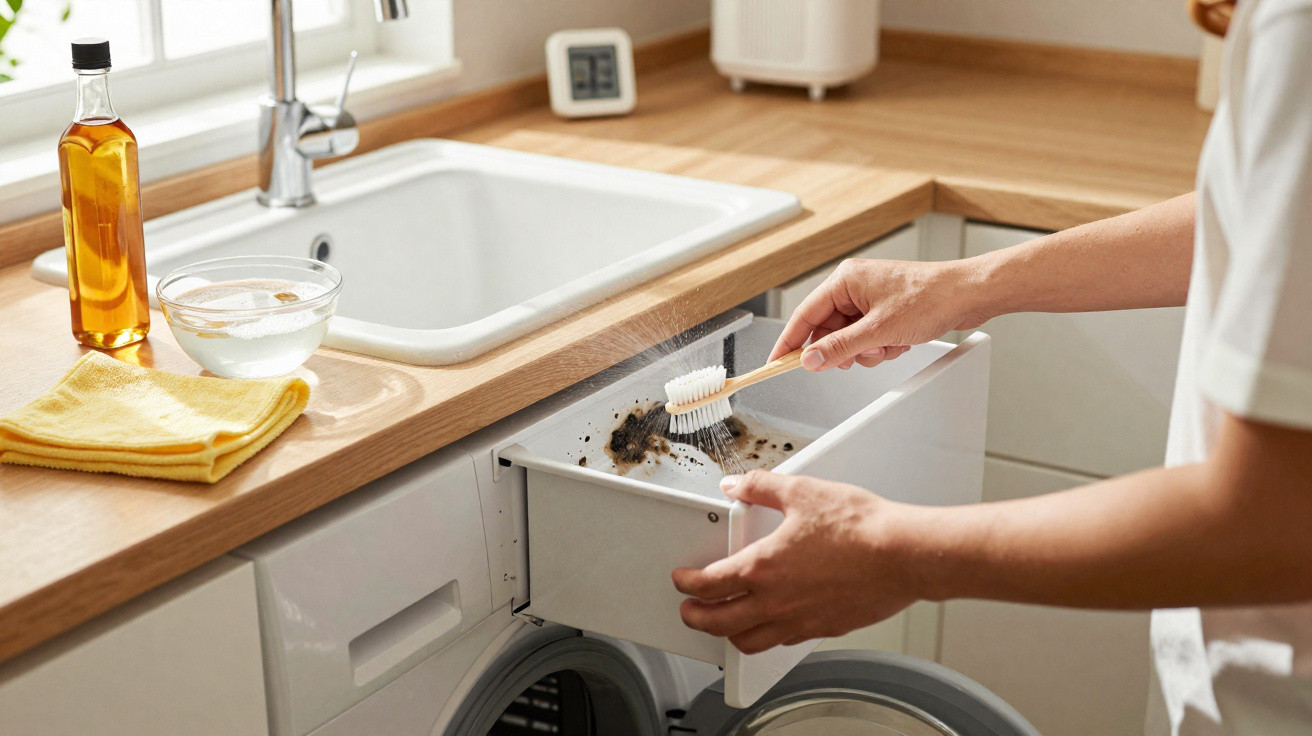
- Painting over mould without first warming the surface or providing suitable ventilation.
- Insulating the wall while leaving decayed seals around window and door frames.
- Turning the boiler back to its previous settings after the work is finished.
- Omitting summer shading, then blaming insulation for overheated rooms.
- Overlooking a small gutter leak that saturates the new layer.
Small tools with a major impact
A £15 humidity sensor can teach you about your home more quickly than any manual. A smoke pencil reveals concealed leaks around sockets and skirting boards. Even with a boiler, a smart thermostat with weather compensation can reduce fuel use after flow temperatures are lowered. Thermal imaging, including from a borrowed camera on a frosty morning, identifies where money is escaping: blue areas at lintels, dark sections along slab edges and bright patches around leaky frames.
Additional context for planners and homeowners
For a quick sense check, create a basic heat-loss sketch. Measure the external wall area, multiply it by the current U-value, then estimate the reduction after insulation. Include an infiltration heat-loss estimate based on ACH50, converting it to natural ACH with a seasonal factor. This rough calculation highlights the largest source of loss: fabric, air leakage or windows. Allocate spending accordingly.
One final point concerns moisture risk. Changing a wall’s temperature profile shifts the dew point. Take particular care when detailing window reveals, sills and vent penetrations. Prevent rain from entering the new layer, and maintain kitchen and bathroom ventilation. This ensures the new sense of calm-the quiet warmth and absence of damp corners-lasts through this winter and the one that follows.



Comments
No comments yet. Be the first to comment!
Leave a Comment