
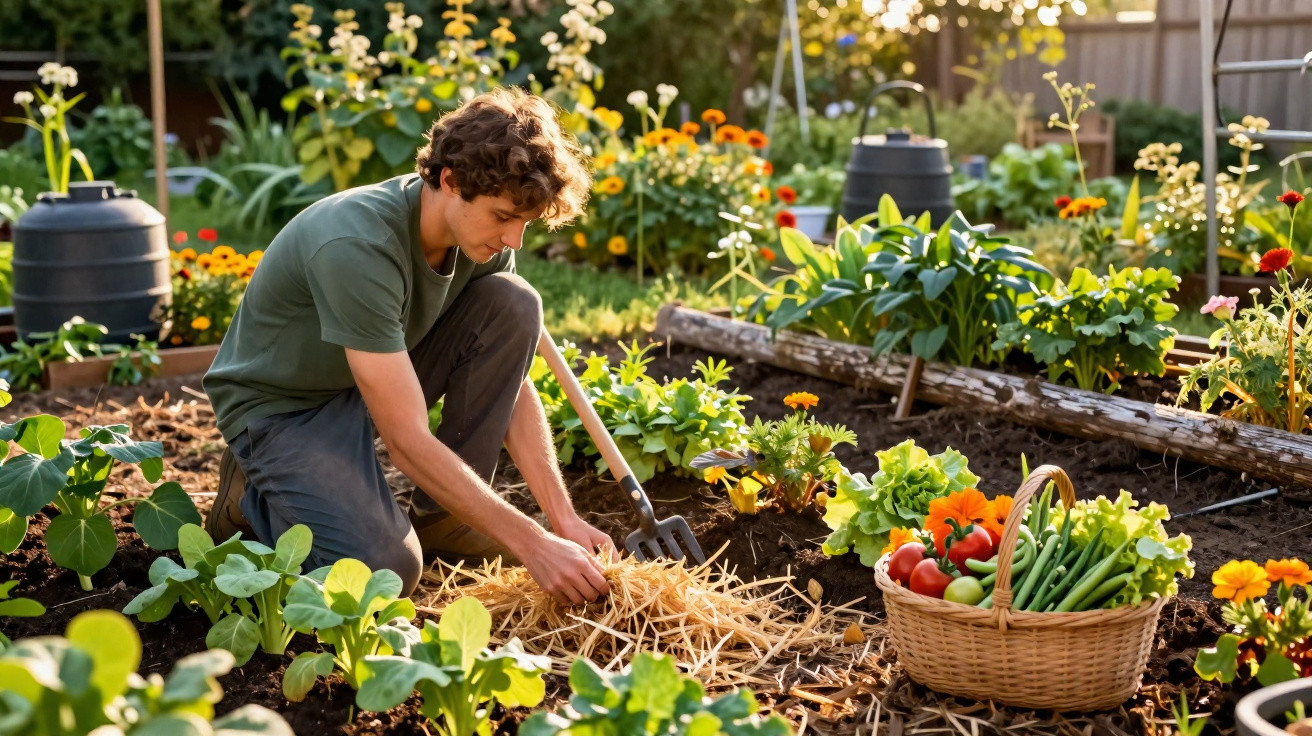
Many home gardeners assume they know every trick in the vegetable patch – until three straightforward permaculture methods completely change the way they garden.
Plenty of people have tended their vegetable gardens for years without realising how much easier and more productive it could be. Permaculture can initially seem a little esoteric, but a closer look reveals a very down-to-earth and practical approach. Three principles stand out in particular: permanent ground cover, thoughtfully matched plants and so-called hugel beds that largely look after themselves.
What permaculture in the garden really means
Permaculture is more than a fashionable term used in gardening groups. It is based on the idea of a permanently productive, largely closed-loop form of agriculture – simply on a smaller scale in the back garden or on a balcony.
“Permaculture aims to design a garden so that it largely regulates itself, builds healthy soil and provides people with dependable harvests.”
Three core principles run through all of its methods:
- soil should remain alive rather than becoming depleted;
- people should work with natural processes, rather than against them;
- resources such as water, compost and seeds should circulate within the garden system wherever possible.
In practical terms, this means replacing bare beds and artificial fertiliser with living soil, diversity and intelligent planting plans. A garden managed in this way constantly changes, adapting to the weather, pests and the gardener's own needs, while aiming over time to become largely independent of bought-in supplies.
1. Permanent ground cover: mulch as an understated powerhouse
A common mistake among home gardeners is to dig over and level a bed, then leave it exposed to the sun for weeks. For earthworms, fungi and bacteria, this is disastrous: they either dry out or retreat into deeper layers. This is precisely where the first key technique comes in: permanent mulching.
Mulching means covering the soil with organic matter that gradually decomposes. Typical materials include:
- straw, hay or dried grass clippings;
- leaves, finely chipped branches or pieces of bark;
- plant debris from the vegetable bed and partly matured compost.
Remarkable processes take place beneath this layer, out of sight. Earthworms pull the material into the soil, fungi break down woody pieces and bacteria convert nutrients. The soil develops a crumbly structure, roots can grow through it more easily and water infiltrates more effectively.
“Soil that stays covered remains moist, fertile and resilient – while also reducing watering and weeding.”
Anyone wishing to try this approach can begin immediately, even with an empty bed. Simply cover the area with a substantial layer of mulch and leave it for a few weeks. Seedlings can later be planted through the layer, while for sowing, it can briefly be pushed aside.
Common mulching mistakes
- Applying fresh grass clippings too thickly – they can rot and smell unpleasant.
- Pressing mulch directly against thin stems – this encourages rot.
- Using too little material – if the soil is still visible, it will dry out again.
As a rule of thumb, it is better to build up several medium layers than to apply one extremely thick layer. By topping it up regularly, gardeners gradually create a living blanket of humus that works almost like a sponge.
2. Companion planting: making the vegetable bed a team effort
The second method challenges the rigid idea of beds planted in rows. Rather than keeping carrots, tomatoes and lettuce neatly apart, permaculture uses purposeful plant pairings. The principle is that plants can support one another: some attract beneficial insects, others confuse pest insects or provide nutrients.
Well-known examples of these partnerships include:
- Tomatoes with basil and French marigolds: the herb improves the flavour of the fruit, while the flowering plant keeps soil nematodes in check.
- Carrots with alliums: the strong scent of leeks confuses carrot fly, while the smell of carrots is unappealing to pests that attack leeks.
- Squash with sweetcorn and climbing beans: the beans climb up the sweetcorn and provide nitrogen, while the squash shades the soil and prevents it from drying out.
Instead of a strict grid, this creates something like a living patchwork. Every plant takes on a role, whether as ground cover, a source of shade, a nutrient provider or an attractant plant. Pests find it far harder to spread because they no longer encounter large monocultures.
“A mixed bed feels calmer even though more is growing: there is less pest pressure, fewer fungal diseases and more reliable harvests.”
How beginners can plan simple mixed plantings
Those who have only ever sown in rows should begin on a small scale. One possible approach is:
- Choose one main crop, such as tomatoes.
- Find two suitable companions: one scented plant and one flowering plant.
- Divide the area into small sections, repeating the combination with slight offsets.
It is important not to place heavy feeders such as cabbage, tomatoes or squash too closely together. Scatter less demanding crops, including lettuce, onions or herbs, between them instead. This keeps nutrient use in balance and means the soil needs topping up with fertiliser much less often.
3. Hugel beds: thinking in layers rather than surface area
The third method goes a step further by using height as well as ground area. Hugel beds are elongated mounds built around layers of wood, branches, leaves, compost and soil. They act as a built-in store of nutrients.
Their construction resembles a layer cake:
| Layer | Material | Function |
|---|---|---|
| Bottom | Coarse branches, pieces of trunk | Water storage, long-term nutrients |
| Middle | Smaller twigs, leaves, plant debris | Structure, habitat for soil organisms |
| Top | Compost, garden soil | Growing layer for vegetables and herbs |
Over the years, the wood inside decomposes and slowly releases nutrients. At the same time, it can hold considerable amounts of water. As a result, plants on the mound need substantially less watering while still receiving consistent moisture.
“A well-made hugel bed produces abundant harvests for years – especially where the original soil is poor, stony or compacted.”
Benefits and limits of the hugel bed method
For anyone with plenty of shrubs and branches in the garden, this also solves a disposal problem: all of it becomes a valuable foundation for the mound. The different zones offer another benefit. The south-facing side becomes warmer and drier, while the north-facing side is slightly cooler and moister. This gives heat-loving crops and more robust varieties their own suitable places.
It is not entirely work-free: depending on its size, construction takes one or two intensive days. In very small urban gardens or tightly packed terraced housing developments, a conventional raised bed may be the more practical choice. Those with enough room, however, benefit in the long term from improved soil, water storage and vigorous growth.
How the three permaculture methods work together
Mulch, companion planting and hugel beds show their real strength when they are used together. For example, a hugel bed might contain tomatoes, dwarf beans and marigolds in a mixed planting. The soil remains covered by a layer of chipped branches and leaves. The tomatoes benefit from the warmth of the mound, the beans provide nitrogen, the flowers attract pollinators and the mulch protects the complex life within.
This creates a kind of mini ecosystem that becomes more stable each year. The gardener still guides the process, but has progressively less to correct. Many problems that otherwise occur – crusted soil, nutrient shortages, waterlogging and pest outbreaks – arise far less often.
Practical tips for getting started with permaculture
Anyone interested does not need to transform the whole garden at once. A gradual approach makes sense:
- Mulch one existing bed straight away and observe it throughout the growing season.
- Deliberately combine two or three plant species that suit one another in one corner.
- Create a small hugel bed in autumn or early spring, perhaps along a sunny garden boundary.
Keeping a simple garden diary is useful. By recording what is growing where, how the soil feels and which pests appear, gardeners start to recognise patterns after one or two years. This observation lies at the heart of permaculture: the garden provides feedback that can be used, rather than forcing a fresh start every year.
Terms such as “self-fertile” or “hugel culture” may at first sound like specialist knowledge. In essence, they express very simple insights: soil needs food and protection, plants grow better as a team than in isolation, and organic leftovers are not rubbish but a reserve. Once gardeners experience this logic in their own beds, they rarely want to return to bare, raked rows.






Comments
No comments yet. Be the first to comment!
Leave a Comment