
What builds up there over months is not for the faint-hearted.
The drum may shine, the detergent may smell pleasant and everything may seem hygienic. But carefully lifting the rubber seal around a washing machine door often reveals a warm, damp area where dirt, slimy deposits and dark marks accumulate. This is more than a visual nuisance: a miniature ecosystem forms beneath the seal, creating odours, contaminating laundry and, in the worst cases, potentially affecting health.
What is really lurking beneath the washing machine seal
The folds of the rubber seal collect virtually everything a washing machine encounters in day-to-day use. The result is a stubborn, sticky layer that becomes firmly lodged in place.
There is no “mysterious” issue beneath the seal, just an everyday cocktail of detergent residue, limescale, skin particles and moisture – ideal conditions for mould.
Typical build-up includes:
- Residue from detergent and fabric conditioner
- Fine lint and fibres shed from laundry
- Limescale deposits caused by hard water
- Microscopic particles of skin and dirt
As the rubber seal forms something of a trough, a little water always remains after a wash. It never dries fully, while the inside of the machine stays mildly warm – exactly the environment mould and bacteria favour. In time, a black or greenish layer develops, accompanied by the familiar musty “cellar smell”.
Warning signs not to ignore
Anyone who looks closely and pays attention to the smell can spot the issue early. Common warning signs include:
- A strong smell when opening the door, even though the laundry is freshly washed
- Dark spots or streaks on the rubber seal
- Grey-black traces on pale fabrics
- A greasy, slightly oily film on the rubber
The problem does not stay inside the machine. Spores and deposits can repeatedly end up on clothing. People with allergies or sensitive airways in particular may react more strongly than they realise.
The most effective approach: a thick bicarbonate of soda paste, not a spray frenzy
Many people instinctively reach for harsh cleaners or spray a bathroom cleaner into the seal. While this may work briefly, it rarely tackles the problem thoroughly. A thick paste made from bicarbonate of soda, also known as baking soda, and water is a much more targeted option.
The trick is not to use a watery mixture that immediately runs away, but a clinging paste that stays where the dirt is.
How to make the cleaning paste
- Around 40 grams of bicarbonate of soda
- A few tablespoons of water, enough to create a spreadable paste
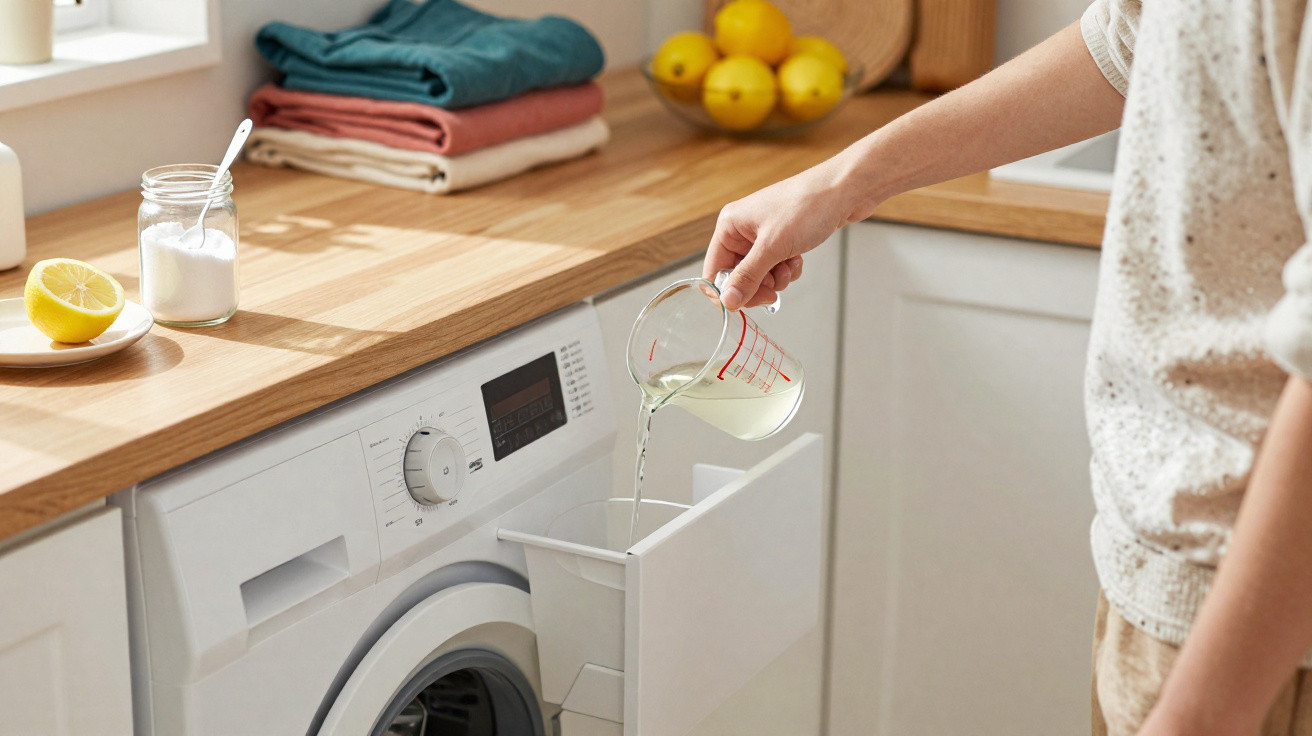
- 200 millilitres of clear household vinegar for wiping afterwards
The mixture should have the texture of a sandwich spread: neither dry and crumbly nor runny. That makes it easy to apply beneath the rim without it dripping straight into the drum.
Cleaning the seal step by step
- Switch off the machine and open the door.
- Carefully lift the rubber seal, especially along the bottom section.
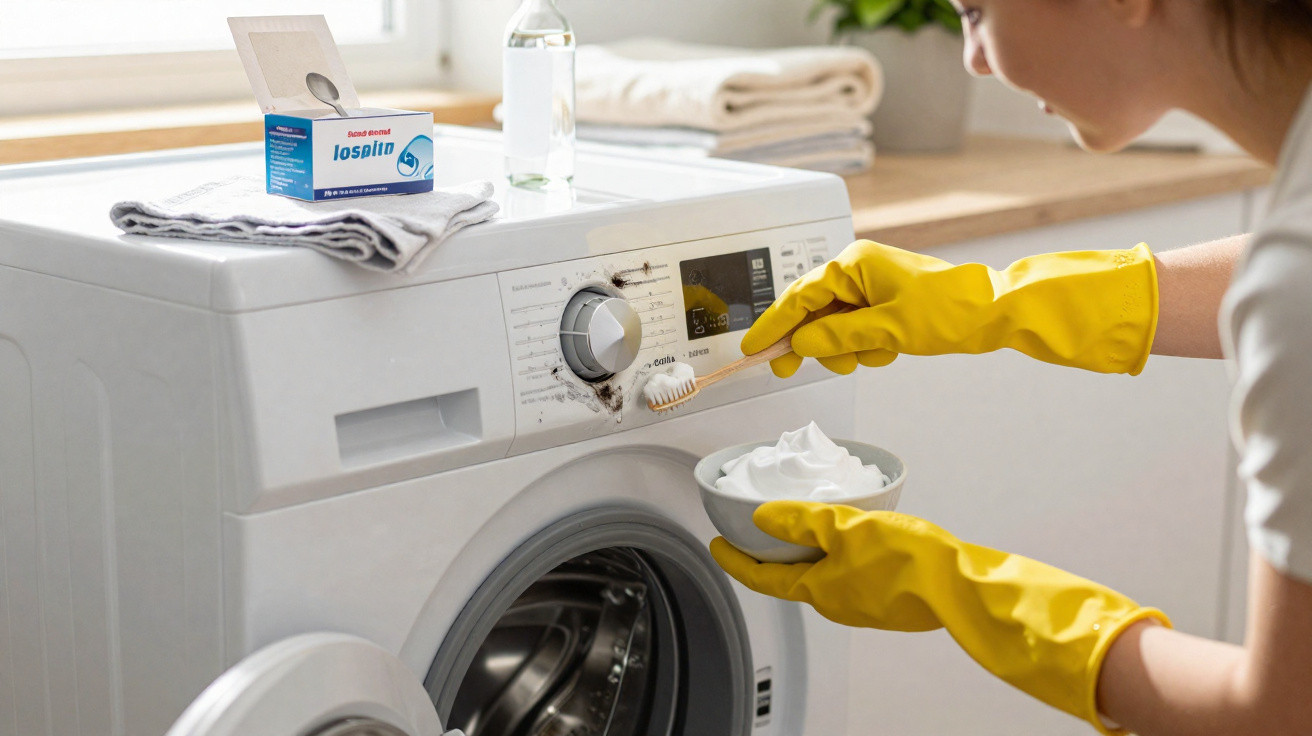
- Use a finger, the back of a spoon or a small spatula to work the bicarbonate of soda paste deep into the folds.
- Pay particular attention to the underside and inner edge, as this is where the most water gathers.
- Leave it for a few minutes so the deposits can loosen.
- Scrub firmly but carefully with an old toothbrush.
- Immediately wipe away loosened residue with a damp cloth.
A toothbrush can reach narrow grooves that a sponge can barely access. The important thing is not to pull or prise so hard that the rubber comes out of its groove or is damaged.
Vinegar as the finishing step: removes limescale and tackles mustiness
Once the worst of the dirt has gone, move on to the second stage: thoroughly wipe the area with household vinegar. It reacts with mineral deposits, breaks down remaining limescale and neutralises odours.
Bicarbonate of soda first, vinegar afterwards – do not mix them together, or the cleaning effect will fizzle away in a display of bubbles.
How to rinse and wipe afterwards
- Soak a clean cloth generously with vinegar.
- Wipe the entire seal carefully, including every fold.
- Turn or replace the cloth regularly so removed dirt is not transferred back.
- Go over particularly stubborn areas a second time.
The vinegar smell may be pungent at first, but it soon disappears, especially if the washing machine door is left open. Finally, wipe with clean water and dry the rubber thoroughly. If the seal remains damp, the cycle will soon begin again.
A hot wash reset: run the machine empty at 90°C
Even when the seal looks clean again, deposits can remain in hoses, around the drum and in inaccessible corners of the washing machine. An empty 90°C boil wash can make a major difference here.
An empty high-temperature cycle after cleaning acts like a freshness boost for the inside of the machine.
To use it effectively:
- Add no detergent, or only a very small amount.
- Choose the longest available programme to keep the temperature stable.
- Keep the door closed during the cycle, then open it wide afterwards to allow the machine to air.
The heat dissolves greasy residue and eliminates a large proportion of the microorganisms that thrive at 30°C or 40°C. Ideally, the machine should smell neutral after this cycle: not perfumed, but not musty either.
Often-forgotten dirt traps: the detergent drawer and fluff filter
Many people focus solely on the drum. Yet two areas are almost always overlooked – and can then cause problems:
| Component | Typical problem | What helps |
|---|---|---|
| Detergent drawer | Caked-on residue from powder, liquid detergent and fabric conditioner | Remove the drawer completely, soak it in hot water and clean crevices with a brush |
| Fluff filter | Lint, hair, small items and stagnant dirty water | Unscrew it regularly, remove the contents and clean the area with a cloth and a little vinegar |
A quick wipe around the inside of the door and across the drum completes the washing machine’s “spring clean”. The difference is often noticeable by smell on the very next wash.
Keep it clean with little effort: the monthly routine
Avoiding a rescue operation once the machine already smells bad saves a great deal of work. A brief monthly check is usually enough.
One empty hot wash a month and two or three cloths – that is often all it takes to prevent trouble.
A practical routine that genuinely works
- Once a month: run an empty wash at 90°C.
- When cleaning the home, briefly lift the seal and check for dark marks.
- As soon as the first spots appear: remove them straight away with a little bicarbonate of soda paste and a brush.
- After every wash: leave the door slightly open and, if necessary, quickly dry the seal with a cloth.
- Do not overdose detergent or fabric conditioner – excess product remains behind as a film.
Anyone living in an area with very hard water may also wish to consider descaling the washing machine. Descaling tablets or a dedicated manufacturer programme can reduce limescale layers, which also give bacteria and mould something to cling to.
Health considerations and common cleaning mistakes
Dark deposits beneath the seal are not a harmless cosmetic flaw. In sensitive people, mould spores and bacteria can worsen airway irritation, itchy eyes or skin problems. Children, allergy sufferers and people with weakened immune systems may react more quickly.
Avoidable mistakes are also frequently made during cleaning:
- Metal scouring pads or abrasive sponges can scratch the rubber.
- Strong chlorine cleaners damage the material and may even make the smell worse.
- Mixing bicarbonate of soda and vinegar directly – the foam party looks spectacular, but delivers very little cleaning power.
Gentle products such as bicarbonate of soda, vinegar, a toothbrush and a soft cloth are entirely sufficient for everyday use. Using this simple combination regularly stops a damp, black ecosystem from forming under the seal again in the first place.
Checking beneath the rubber ring should therefore be part of a normal household routine. Anyone brave enough to lift it once will quickly see why a few extra minutes of effort are worthwhile for noticeably fresher, more hygienic laundry.




Comments
No comments yet. Be the first to comment!
Leave a Comment