
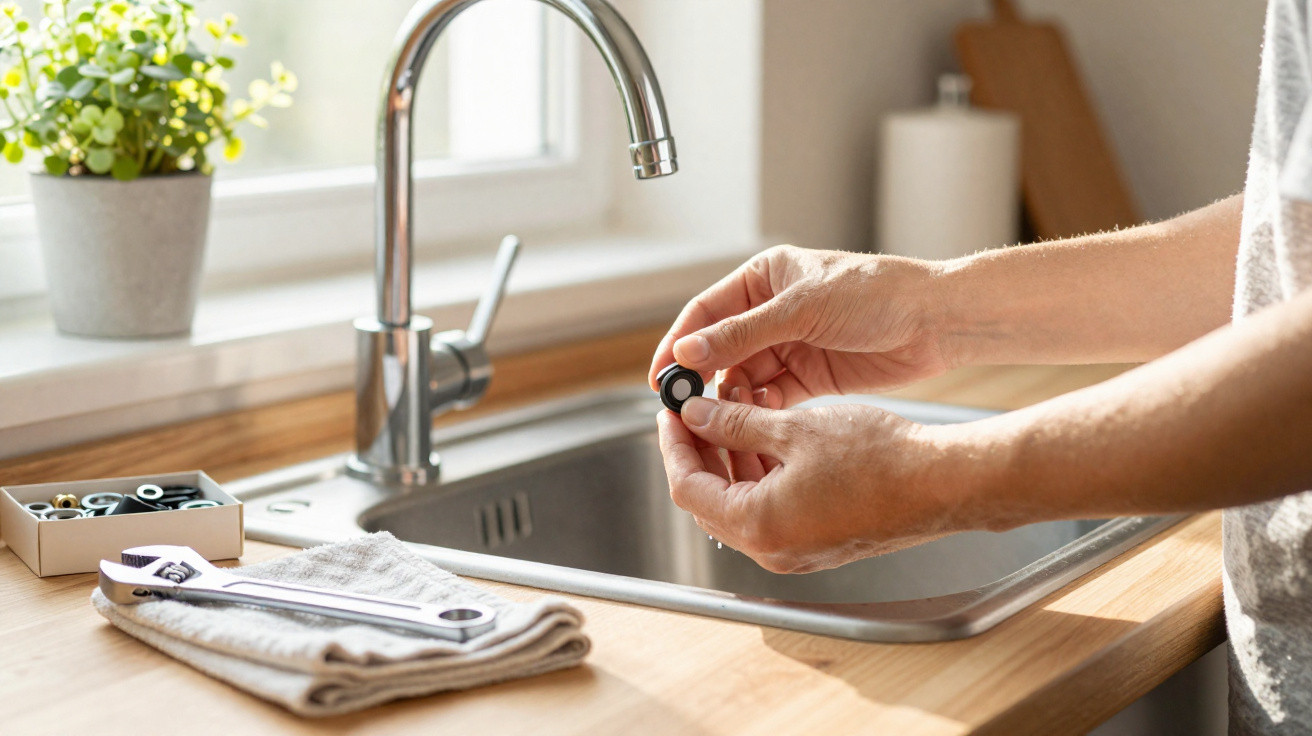
It is 7.12 am: the coffee is brewing, the children are hunting for their things, and that steady, relentless sound starts again: drip… drip… drip. A leaking tap can seem almost trivial at first, until you notice that it can be heard across the kitchen, even at night. We all know the moment when we promise ourselves we will deal with it “this weekend”, only for the leak to become an unwanted long-term housemate. The good news is that the most common repair needs neither a full toolkit nor a panicked call to a plumber. Three minutes used well are often enough. And the return of silence feels remarkably good.
That small drip often has a very simple cause
A leaking tap is not necessarily at the end of its life. In most cases, water escapes because an internal washer has become compressed, worn or slightly displaced after years of turning the tap on and off. This tiny piece of rubber works far harder than most people realise, particularly in a kitchen tap used from morning to evening. The leak may look complicated, even though the faulty part can sometimes fit on the tip of a finger. Before considering replacing the entire mixer tap, it is worth checking this detail first.
At Marc’s home in Lyon, the bathroom basin tap was losing one drop every four seconds. He had already started comparing new models online, convinced that the entire fitting had failed. Once he had turned off the water and replaced a washer costing less than two euros, the problem had vanished before his kettle had even finished boiling. Depending on its rate, a slow leak can waste several dozen litres over a year. It may not look dramatic, but the bill can eventually become just that.
The most useful diagnosis requires no dismantling at all: look carefully at the exact point where the water emerges. When it drips from the spout while the tap is off, the washer or cartridge is usually responsible; when water appears around the base of the handle, the O-ring is more likely to be the issue. Let’s be honest: nobody really does this every day. Yet spending ten seconds locating the leak prevents random unscrewing, frustration and the loss of what should have been a quick repair.
The quick method for repairing a leaking tap: isolate, open, replace, close
Start by shutting the two small isolation valves beneath the kitchen sink or basin: one for hot water and one for cold. Then open the leaking tap to release the remaining pressure, and cover the plughole with a cloth or the plug itself. This simple habit can save a tiny screw from disappearing. Lift off the decorative handle cap with a fingernail or small flat-head screwdriver, loosen the hidden screw and remove the handle. You can then reach the mechanism and, quite often, the worn washer causing the drip.
For an older tap with a turning head, carefully unscrew the head using an open-ended spanner or pliers protected with a cloth. The washer sits at its end: remove it, compare it with the replacement, then fit the new one without twisting it. With a modern mixer tap, you may need to replace the cartridge rather than an individual washer; take a photograph before removing the part, as this avoids uncertainty in the shop. Never force the chrome. A mark left by pliers will not make the tap leak, but it will be an irritating reminder every morning.
Reassembly takes less strength than you might expect: screw the parts back together only until the unit is secure, refit the handle, then gradually turn the water back on beneath the cabinet.
“A tap should be tightened enough to seal it, not enough to win an arm-wrestling contest.”
Keep these three habits in mind:
- turn off the water supply before handling anything;
- protect the plughole so that nothing can fall in;
- test gently before putting the tools away.
If no drop appears after one minute, you have probably solved the problem without needing any particular DIY expertise.
Mistakes that turn an easy repair into a headache
Rushing is the real trap. Many people remove the handle without shutting off the water first, then discover too late that a pressurised jet can hit walls, sleeves and sometimes even the ceiling. A towel on the floor, a cloth in the plughole and a small container for screws make the whole task calmer. This is not about doing DIY as though you were on a television programme, with three cameras and a perfectly tidy workshop. It is simply about staying calm for three minutes, which is already a lot in a busy day.
Another common mistake is buying a washer that is “more or less the same”. Diameters can differ by a few millimetres, and that small variation is enough to keep the leak going. Take the old washer with you, or photograph it clearly beside a coin to provide scale; at a hardware shop, that helps straight away. A correctly sized washer costs very little, whereas a cartridge in the wrong size will make you start again. If the tap is heavily affected by limescale, let white vinegar work on the deposits for a while before reassembling the parts.
Sometimes a tap continues to leak despite a new washer. That does not mean you have failed: the tap seat may be scratched, the cartridge may be cracked, or the mechanism may simply have reached a respectable age. Replacing the cartridge is still often manageable in this case, provided you note the make and model reference. If water is leaking beneath the sink, from a flexible hose or near a wall connection, however, it is better to turn off the water and seek professional advice. In that situation, the leak can quickly hide where you cannot see it.
A small repair that changes the atmosphere at home
Fixing a leaking tap is not only about silencing an annoying drip. It also brings back the very real satisfaction of resolving a household problem without waiting for someone else, spending a disproportionate amount of money or turning the kitchen into a building site. Small jobs often become less intimidating once the first move has been made. The next day, when you pass the silent sink, you may even feel a slightly disproportionate sense of pride. Yet it is deserved: every litre not wasted matters, even when it makes no sound.
This habit can become contagious within a household too. A child who sees an adult replace a washer learns that objects do not necessarily need to be thrown away as soon as they wear out; a neighbour may lend an open-ended spanner; a relative may share the reference for a hard-to-find cartridge. These modest repairs can spark surprisingly useful conversations. They are a reminder that a home lives, wears down and sometimes creaks, but does not always require exceptional knowledge to remain pleasant. Sometimes, a cloth, a washer and a little attention are all it takes.
| Key point | Detail | Benefit for the reader |
|---|---|---|
| Turn off the water before starting | Close the isolation valves beneath the cabinet, then run the relevant tap for a few seconds to release the remaining pressure. | You avoid an unexpected jet, work calmly and keep the repair genuinely quick, even if DIY is not a habit. |
| Identify where the leak is coming from | A drip from the spout often points to a washer or cartridge; leakage around the handle usually suggests an O-ring. | You can buy the right part first time and reduce needless dismantling that can become discouraging. |
| Tighten with restraint | Refit the parts without crushing washers or forcing chrome components, then check for leaks by turning the water back on slowly. | You protect the tap, avoid damaging the thread and achieve a lasting repair rather than a brief pause of a few days. |





Comments
No comments yet. Be the first to comment!
Leave a Comment