
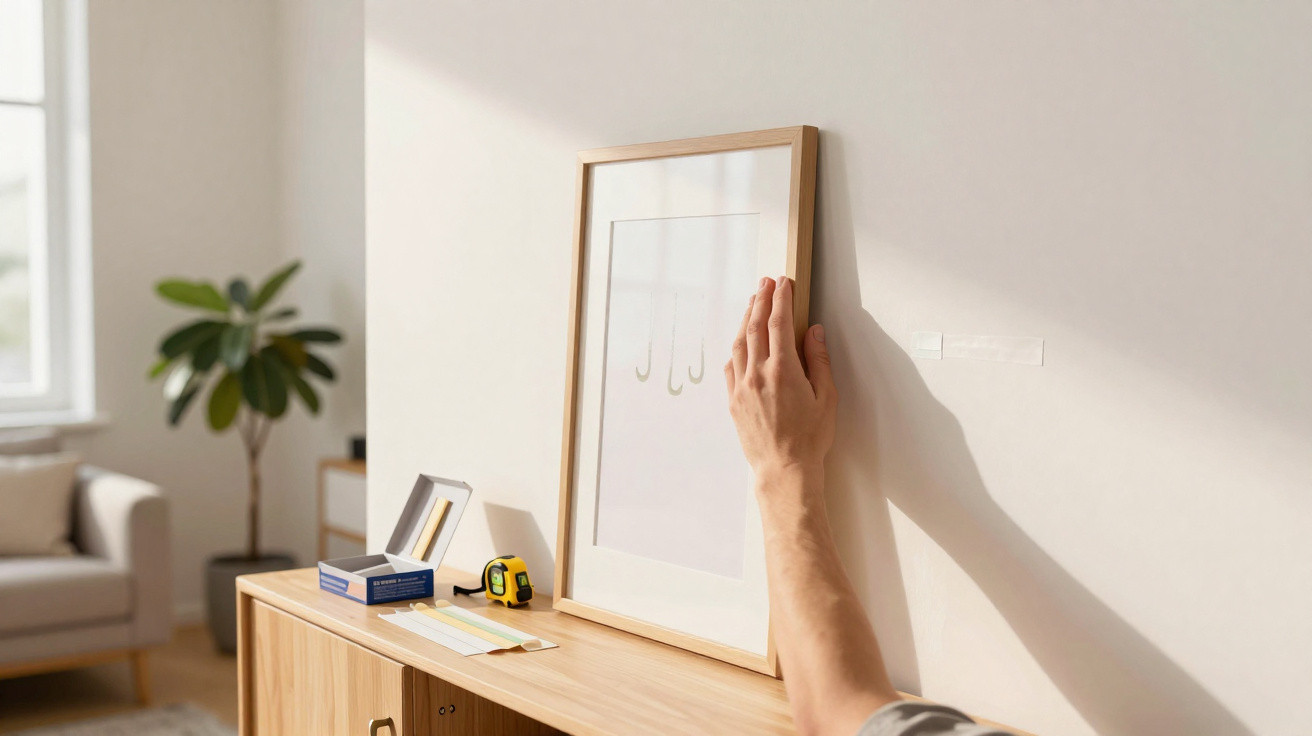
A blank wall can make you want to change everything: a large print above the sofa, a shelf in the hallway, a mirror in the bedroom, or even those fairy lights that have been sitting in a drawer for three months. Then comes a very practical worry: the landlord, the deposit, fragile plasterboard, or simply the thought of getting the drill out on a Sunday evening. The good news is that some no-drill systems can now hold far more than a lightweight picture frame. There is one condition: they must not be used at random.
We all know the moment when you hold an object against the wall at arm’s length, already picturing the finished look. The item is ideal and the position is right, but one small issue stands in the way: making a hole. In a rented home, every wall plug leaves a mark, and every mistake means a repair to deal with. Even in your own home, you may not want to wake the whole building just to hang a mirror.
The usual instinct is to look for a quick fix, perhaps a roll of tape found at the back of a cupboard. It is tempting, and it can end with a crooked frame on the floorboards. The proper approach is not particularly dramatic: it depends on the object’s actual weight, the type of surface, and almost meticulous preparation. That is where everything is decided.
A clean wall and a fastening selected sensibly are better than reaching for a drill in a panic. There is also one detail that instructions do not always stress enough: allowing the adhesive time to do its job makes all the difference. You can achieve a remarkably secure fixing without noise, dust or regret.
The wall often decides before the adhesive does
People readily talk about miracle hooks, ultra-strong strips or fixing putty “that holds everything”. In practice, the first thing to assess is not the fixing but the wall. A smooth, hard, non-porous surface - tiles, glass, painted metal, melamine or sound satin paint - is ideal for adhesive strips and mounting adhesives. A dusty wall, old matt paint or textured wallpaper is an entirely different proposition.
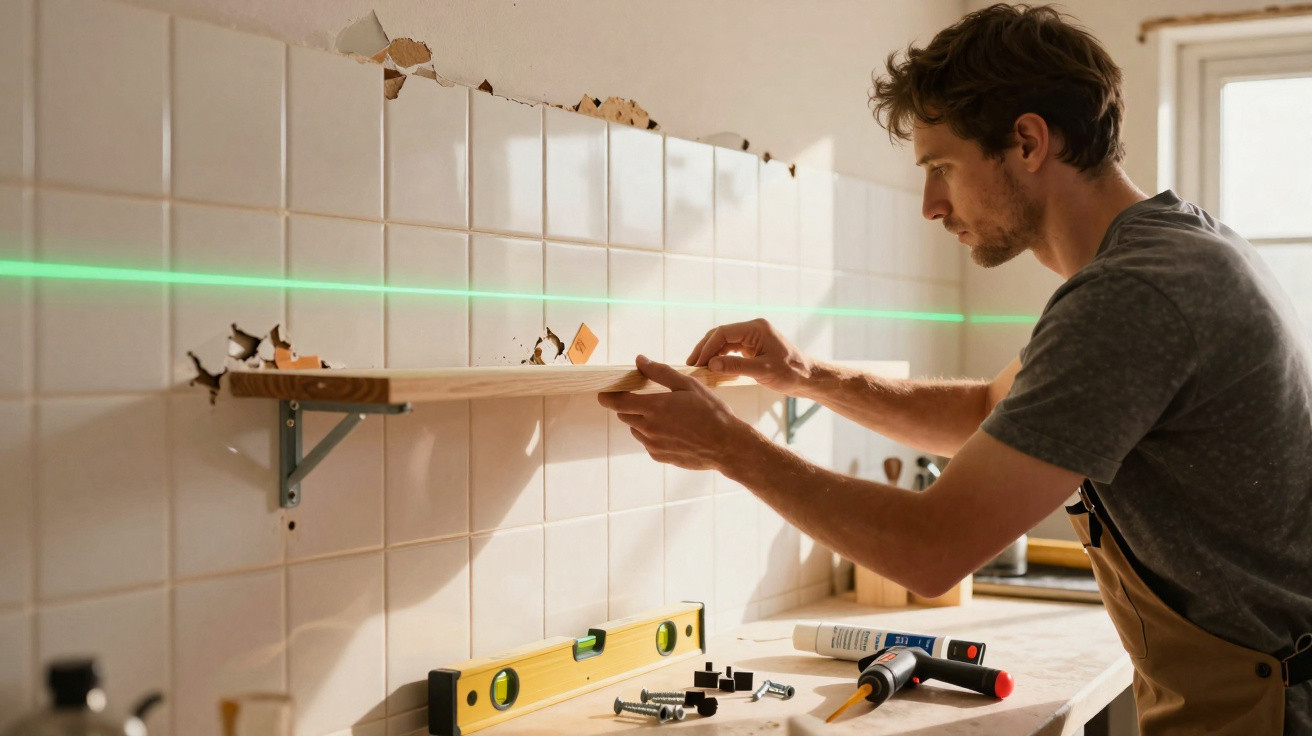
In a kitchen, one reader fitted a small spice shelf using two adhesive strips rated for 7 kilos. Three days later, the shelf held up… until she added four glass jars. Weight was not the only issue: steam, grease splashes and the barely noticeable texture of the splashback had weakened the bond. With a no-drill fixing, the kilograms stated on the packaging are never an absolute guarantee.
The principle is fairly straightforward: the more an item pulls downwards or away from the wall, the greater the leverage it creates. A flat 2-kilo frame is easy to support. A 2-kilo coat rack, loaded with coats that are moved every morning, is far more demanding. Strength is not measured by weight alone, but also by repeated handling, impacts and the distance between the object and the wall. Let us be honest: nobody carries out that calculation every day.
The ultra-secure no-drill fixing method, step by step
Start by weighing the item, even if only roughly, then select a fixing with a stated load capacity at least twice as high. For a 1.5-kilo frame, choose a solution rated for 3 kilos or more. Next, clean the area with isopropyl alcohol or methylated spirits, avoiding greasy products and scented cleaners. Leave it to dry fully, mark your reference points in pencil, then apply the strips or adhesive putty according to the intended contact points.
A common mistake is hanging the item as soon as the fixing has been applied. The impatience is understandable: the wall is ready, the decoration is waiting and you want to see the result. Yet strong adhesive strips and mounting adhesives need time to cure, often 24 hours and sometimes longer. Another oversight is underestimating the paint: if it flakes when scratched with a fingernail, the adhesive will remain attached… to the layer of paint that comes away.
For light to medium-weight items, double-sided strips from a recognised brand remain a practical choice, especially where you want to remove the installation neatly. For more substantial loads, polymer adhesive sealant or adhesive screws designed for smooth surfaces provide stronger hold, provided they are used correctly. The right product is the one suited to the surface, not the one with the most impressive claim on its packaging.
“A successful no-drill fixing is prepared before it is stuck on: cleaning, drying time and a safety margin make the difference.”
- Frames and prints: repositionable strips or adhesive hooks.
- Lightweight mirrors: high-strength mounting strips distributed over the full height.
- Small decorative shelves: adhesive sealant, on a smooth and stable surface only.
- Very lightweight curtains: tension rods or suitable adhesive brackets.
- Valuable or heavy items: choose a mechanical fixing or a professional.
What you can genuinely fix without drilling
The idea of fixing “anything” is appealing, but it needs qualification. Yes, it is possible to attach many items without drilling: frames, lightweight mirrors, lightly used coat hooks, detectors, key boxes, small artificial plants, cables, decorative shelves and bathroom accessories. For a television, wall-mounted furniture, a bicycle, a bookcase or a heavy antique mirror, the miracle solution must be ruled out. A wall is not a testing ground when a fall could injure someone.
The best test is almost ordinary: once the fixing is installed and the curing period has been observed, gently pull the item towards you and guide it slightly downwards. Nothing should move, crack or lift at the edges. If there is any doubt, remove everything before adding weight. This caution avoids the classic 3 am scenario: a frame slowly slipping before crashing down with an unexpectedly huge noise.
These reversible solutions also offer a certain freedom. You can alter an arrangement of frames, move a mirror to suit the light, redo a child’s bedroom or create a home-working corner without turning the walls into Swiss cheese. Fixing without drilling requires less strength than method. It also encourages you to see your home differently: not as a fixed setting, but as a space that can change with life, preferences and house moves.
| Key point | Detail | Benefit for the reader |
|---|---|---|
| Assess the surface | Smooth, clean and non-porous walls provide the best adhesion. | Avoid detachments caused by fragile paint or a dusty wall. |
| Allow a load margin | Choose a fixing able to support at least twice the item’s weight. | Improve safety against handling, vibrations and temperature changes. |
| Observe the curing time | Generally wait 24 hours before placing the item under load. | Achieve a lasting no-drill hold without unpleasant surprises. |
Comments
No comments yet. Be the first to comment!
Leave a Comment