
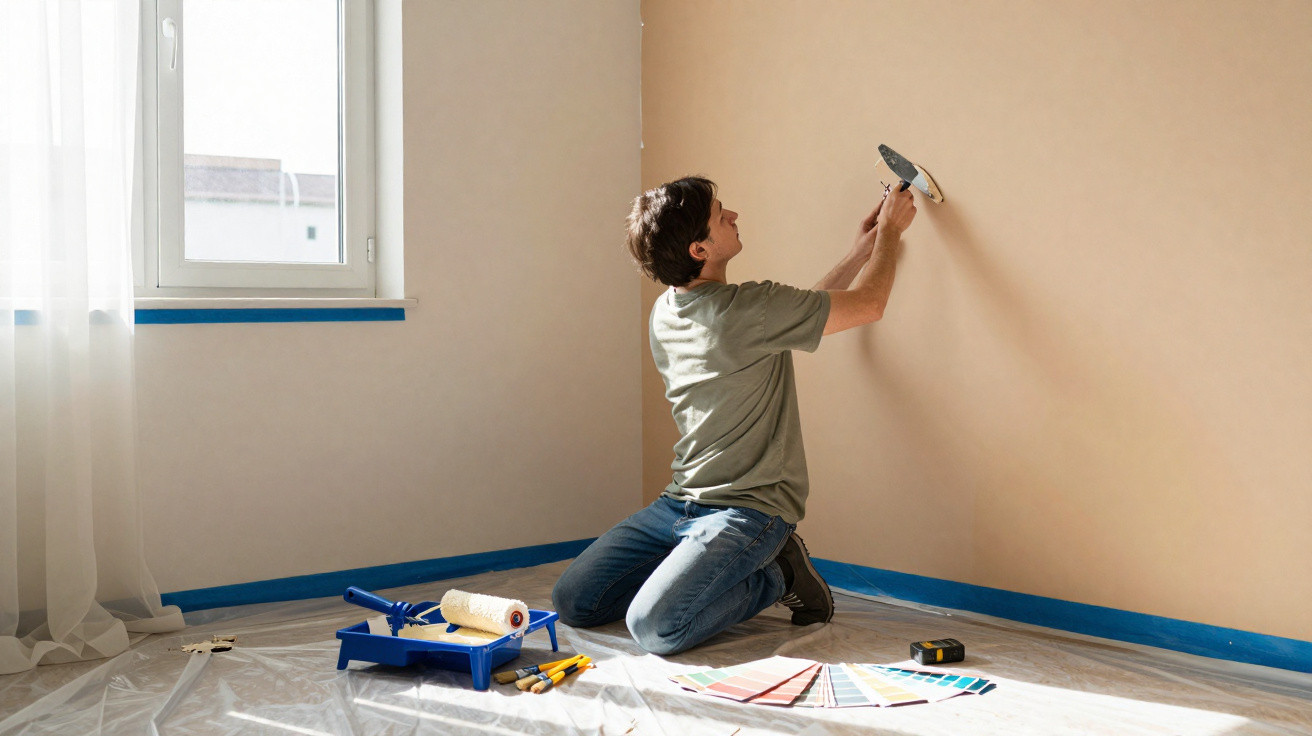
The roller starts squeaking before it has even touched the wall.
You are wearing painting clothes that were once your “nice” T-shirt, one socket is still attached by a stubborn layer of paint from 2014, and there is a ceiling patch you are determined not to notice. Instagram videos on your phone suggest a room can change from “rental beige” to “boutique hotel” in a single afternoon. In real life, you have already spent twenty minutes looking for the masking tape.
The tin is open, fresh-paint fumes fill the room, and you are equally excited and worried that you will ruin everything. Standing in the doorway with paint dripping from the roller, you realise you have done… absolutely no preparation. No sanding. No cleaning. No furniture strategy beyond “push it somewhere”.
This is precisely where a professional painter quietly justifies their day rate.
The unseen preparation behind flawless painted walls
The finest paintwork does not really look newly painted. Instead, it appears as though the room has always looked that way: no brush strokes, no odd glossy areas, and corners that join in crisp, ruler-straight lines.
That result is about more than quality paint. It comes from countless small choices made before the brush goes into the tin: selecting the proper undercoat, filling cracks, sanding away a drip left by an earlier DIY attempt, and loosening sockets rather than lazily painting loops around them.
Professional decorators tend to regard preparation as 70% of the work, with the actual painting making up the remaining 30%. Watch one at work and you will never look at the walls in your home in quite the same way.
A London decorator I interviewed last year said that he can spend almost a whole day preparing one medium-sized room. He shifts all the furniture into the middle, covers it as though it were a crime scene, then inspects the walls under a bright work light, using bits of tape to mark every dent and hairline crack.
He scrapes back loose paint, fills gaps twice and sands between every layer, including in places most people would not spot. One homeowner complained that he was “not painting fast enough”. Her complaints ended when sunlight struck the wall at 4pm and failed to reveal even one ripple.
Poor preparation has a habit of revealing itself later. The greasy fingerprint that seeps through may not become visible until the second coat has dried. You may not realise you missed primer until your bold shade dries unevenly. Paint punishes shortcuts, yet rewards patience generously.
Preparation is essentially about managing three things: what is already on the wall, how well paint will adhere to it, and where that paint is meant to land. It means clean surfaces, stable surfaces and sharply defined edges. It is not glamorous, and it involves plenty of sanding, but it is the route to the calm, velvety finish everyone quietly wants.
The professional step-by-step painting preparation routine
Begin as the professionals do: remove anything you can from the room. Put furniture in the centre, take pictures down and remove curtains. Protect whatever remains. Professionals use heavy-duty dust sheets along with proper plastic sheeting on floors, securing the edges with tape to prevent paint from finding its way underneath.
They then assess the room with fresh eyes. Rather than seeing “my living room”, they see “a surface I am about to work on”. They run their hands across the walls to identify raised areas, mark each crack and nail hole in pencil, and only then reach for sugar soap or a mild detergent solution. Wash the walls, paying particular attention to light switches, radiators and areas where hands naturally touch them.
When you are tackling a weekend DIY project, cleaning can seem tedious and unnecessary. However, grease, stale smoke and children’s fingerprints can all prevent fresh paint from adhering evenly. Those “mysterious shiny patches” that will not blend in are often caused by dirt or leftover residue.
Once the walls have dried, it is time for filler. Apply it in thin, considered layers using a filling knife, rather than putting it all on at once or smearing it on with your fingers. First open hairline cracks slightly with a scraper, giving the filler something it can grip.
Sanding follows. Use light circular movements on each filled area, then quickly sand glossy sections to create a key for the new paint. Professionals frequently use a sanding pole to reach high areas without balancing precariously on chairs. Remove the dust with a microfibre cloth or vacuum cleaner, as leftover dust ruins a smooth finish.
Only then should you apply tape, and not frantically to every surface. Reserve it for the edges that matter most: skirting boards beside carpet, the meeting line between a coloured wall and a white ceiling, and window-frame edges. Apply tape to clean, dry surfaces and press it down firmly to stop paint bleeding beneath it.
At last, apply primer: to bare plaster, repaired sections and old glossy paint. Primer balances the surface’s absorbency, preventing fresh paint from soaking in unevenly. Leave it out and you can end up with patchy, thirsty walls that absorb coat after coat while you wonder where it all went wrong.
Common painting mistakes, subtle fixes and the emotional bit
One major professional habit is testing paint before committing to it. Do not settle for a tiny, postage-stamp-sized swatch. Paint a generous patch, at least A4 sized, in two or three areas of the room: near a window, behind the sofa and opposite a lamp.
Light changes colours dramatically. The soothing grey you loved in the shop may look purple in the evening. Leaving test patches up for a day or two can feel a little chaotic, but it lets you work out which shade you would genuinely like to wake up to on a Monday morning.
Then there is the masking-tape trap. Plenty of DIYers apply masking tape to dusty skirting boards and are surprised by the ragged result. Others leave it in place for too long, only for it to tear away their newly painted surface. The answer is good-quality painter’s tape, pressed down with a thumb or putty knife and removed while the paint remains slightly tacky.
There is also the familiar mistake of painting around obstacles: sockets, radiators and picture hooks. Professionals loosen socket plates - with the power off first - remove hooks and may even take radiators off the wall. It can feel excessive until you see the uninterrupted, clean colour in a finished room and notice just how untidy paint-around areas look.
A quieter emotional element runs through the whole process too. For many people, a newly painted room is not simply about décor. It can mean “new baby arriving soon”, “regaining the flat after a breakup”, or “finally making this rented place feel like mine”. On a difficult day, preparation can feel as if the universe is asking whether you truly want this change.
“The actual painting is the fun bit,” one decorator told me. “My job is getting your walls ready so nothing ruins that moment when you peel the tape and go: oh wow, that’s my room now.”
Let us be honest: nobody really does all of this every day.
- Quick prep wins: Even a simple wash-sand-tape routine can make budget paint look like a high-end finish.
- Non-negotiables: Clean walls, decent filler and some primer on repaired patches are what prevent paint from failing after three months.
- Worth the splurge: Quality brushes, low-tack tape and a proper dust sheet save more time and stress than any “miracle” painting gadget.
When your room is prepared, you are different too
After the hassle, the sanding dust and the awkward furniture rearranging, there is a quiet moment that almost nobody shares online. The room is taped, primed and oddly pale. Your playlist is ready, and the roller tray is waiting.
Standing in that partly emptied space, you realise it no longer quite feels like the old room. It feels more like a blank set waiting for its story. The effort you have put into details that nobody will ever praise has altered the way you see the entire place.
In practical terms, the benefit is straightforward: paint will apply more evenly, cover more quickly and last longer. More personally, there is something quietly powerful about completing this slow, unglamorous work for yourself. You are not merely changing your wall colour; you are showing that you are someone who follows through, who lays the boring groundwork for the life you want to live in that room.
We have all moved a picture frame and discovered the previous colour beneath it: a gloss-finished ghost of a former version of ourselves. The preparation you do now stops the next version of the room from feeling like a rushed paint-over of the last one. And if, afterwards, you find yourself inspecting strangers’ skirting boards and ceiling lines in restaurants, do not worry. That is simply your new superpower taking hold.
| Key point | Detail | Benefit for the reader |
|---|---|---|
| Prepare surfaces | Clean, fill, sand and remove dust before applying any paint | Achieve a smooth result without marks or stains returning |
| Protect and define edges | Move furniture, cover surfaces and use quality masking tape | Save cleaning time and create crisp, professional-looking lines |
| Test and prime | Use full-size colour tests and undercoat key areas | Avoid disappointing colour surprises and walls that absorb paint |
FAQ:
- Do I really need to wash my walls before painting? Yes. Grease, dust and old residue stop paint from adhering correctly, causing patchiness and peeling, particularly around switches and other frequently touched areas.
- What’s the best order: walls, ceiling, or woodwork? Professionals generally paint the ceiling first, followed by walls, then skirting boards and trim, so drips from above are covered as you work downwards.
- How long should I wait between coats? Follow the instructions on the tin, but as a guide, allow emulsion 2–4 hours between coats; oil-based paints often require overnight drying.
- Is primer always necessary? Not necessarily on sound, previously painted walls, but it is essential for bare plaster, stained sections, dark colours and glossy surfaces.
- Can I skip sanding if I’m using good paint? No. Even premium paint cannot adhere properly to shiny or flaky surfaces; a quick sand is the difference between “fresh” and “flaking in six months”.





Comments
No comments yet. Be the first to comment!
Leave a Comment