
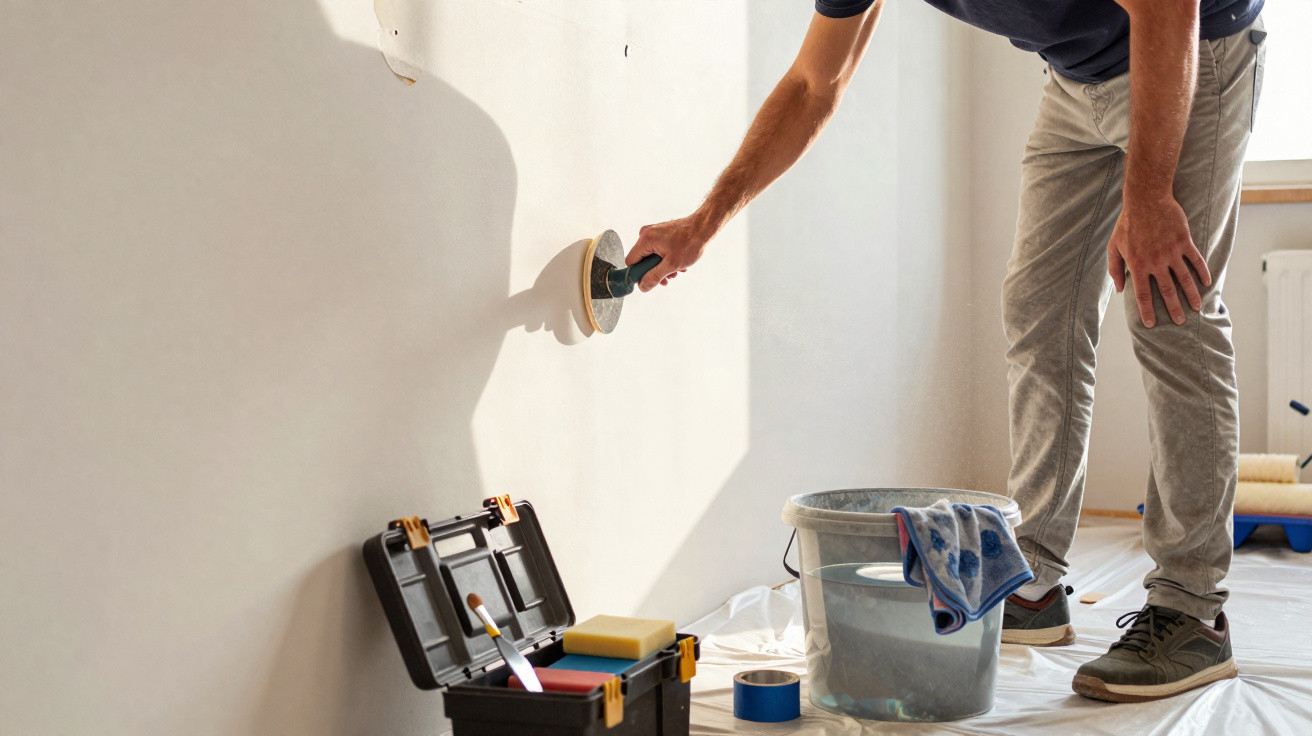
On a Saturday morning, the paint tin is open, the roller is waiting in its tray, and the room suddenly feels far larger than it did the day before. We all know the feeling: you want to get it finished quickly and finally bring that grey, pale yellow or off-white wall back to life. So you cover the floor half-heartedly, stir the paint and get started. Two days later, a small blister appears by the window. A week on, a darker mark shows through the new colour. The paint may not be at fault, nor the roller. What is often missing happens before the first brushstroke: preparing the surface, the unobtrusive stage professional painters never skip and which, judging by habits seen on job sites, many DIYers rush through or forget entirely. That is where everything changes.
A wall is never as clean as it looks
From a distance, a wall can appear smooth and ready for paint. Up close, the picture is less flattering: fine dust, fingerprint marks around switches, detergent residue, kitchen grease, old hairline cracks or tiny specks of plaster. A professional rarely begins by reaching for a roller. They inspect the wall, feel it, sometimes scratch it with a fingernail and run a hand over the surface. It may seem like an ordinary gesture, yet it exposes what ceiling lighting conceals. Preparing the surface is not an hour wasted before painting: it determines whether the paint will truly adhere, dry evenly and retain a smart finish over time.
In a flat renovated in a rush, Claire repainted her hallway wall using a premium paint she had chosen after twenty minutes in the decorating aisle. That evening, the finish looked flawless. Three weeks later, dull patches emerged near the door, where coats brushed against the wall and hands rested on it when people came home. She had painted over an old, slightly greasy surface without washing or lightly sanding it. The new coat had not bonded as it should. She had to start all over again. The day's work saved at the outset cost her two days afterwards, not to mention a second tin of paint.
The principle is straightforward: paint adheres to a sound, dry, dust-free and sufficiently stable surface. When it meets grease, powdery residue, hidden damp or peeling old paint, it creates an attractive film… sitting on a weak base. At the slightest knock, temperature change or steam from a shower, the flaw reappears. Fresh paint does not fix a tired wall; sometimes it merely disguises it very effectively. Tradespeople know this because they need to return to their own jobs less often when they take this time at the beginning.
The professional approach: clean, repair, sand and remove dust
The right method involves four steps, adjusted to the condition of the room. First, wash the wall with a suitable product or a mild degreasing cleaner, particularly in a kitchen, hallway or around radiators. Rinse it where the product instructions require this, then allow it to dry fully. Fill holes and cracks with filler, let it harden, then sand it gently using fine abrasive paper. The final step is often the one most overlooked: remove the dust with a slightly damp microfibre cloth or a soft brush. A powdery wall does not become dependable simply because it has been covered.
Many DIYers are wary of this preparation because it brings to mind a lengthy, messy and rather thankless job. That is understandable: nobody wants to spend their Sunday washing a beige wall before repainting it a lighter beige. Honestly, nobody does that every day. Yet this stage can remain manageable when you work area by area and resist trying to sort everything out in one evening. The most common trap is sanding filler, finding that the wall feels smooth, then painting straight over the dust created in the process. The finish may become less durable without the reason being immediately clear.
Before opening the tin, experienced painters often follow one very simple rule: they paint only when they know exactly what they are covering. A primer may help on a porous, stained or repaired wall, or after a dramatic colour change, but it never takes the place of cleaning.
“Paint is the final layer of the job. If the wall is poorly prepared, it reveals everything we wanted to hide.”
- Check that the surface does not crumble when you run your hand across it.
- Identify damp marks before sealing them.
- Allow complete drying after washing or applying filler.
- Choose a suitable primer rather than applying an extra finishing coat.
The invisible detail that truly transforms a room
A freshly painted room brings instant satisfaction: edges look sharper, light moves differently and even the furniture seems to settle back into place. That feeling lasts longer when the underlying surface has been treated properly. A well-prepared surface absorbs paint evenly, reduces visible overlap marks and creates the smooth finish naturally associated with a tradesperson's work. It is not magic reserved for professionals. Above all, it is the result of a series of patient, small actions taken before the colour takes centre stage.
There is also a certain relief in slowing down at the right moment. Spending ten minutes inspecting a wall can prevent the frustration of paint blisters, a crack returning or an uneven shade in the morning light. Walls tell the story of daily life: a picture frame moved, an old leak, children growing up, furniture leaving its mark. Preparing them means acknowledging that history rather than roughly covering it up. Sometimes the finest change in a home starts with a sponge, a sanding block and a little patience.
| Key point | Detail | Added value for the reader |
|---|---|---|
| Clean before painting | Remove grease, nicotine, dust and everyday marks | Promotes better paint adhesion |
| Repair and sand | Fill imperfections, then smooth them without gouging the wall | Reduces marks visible once the paint has dried |
| Remove dust and allow drying time | Clear sanding residue and observe drying times | Prevents blisters, dull patches and premature touch-ups |
Comments
No comments yet. Be the first to comment!
Leave a Comment