
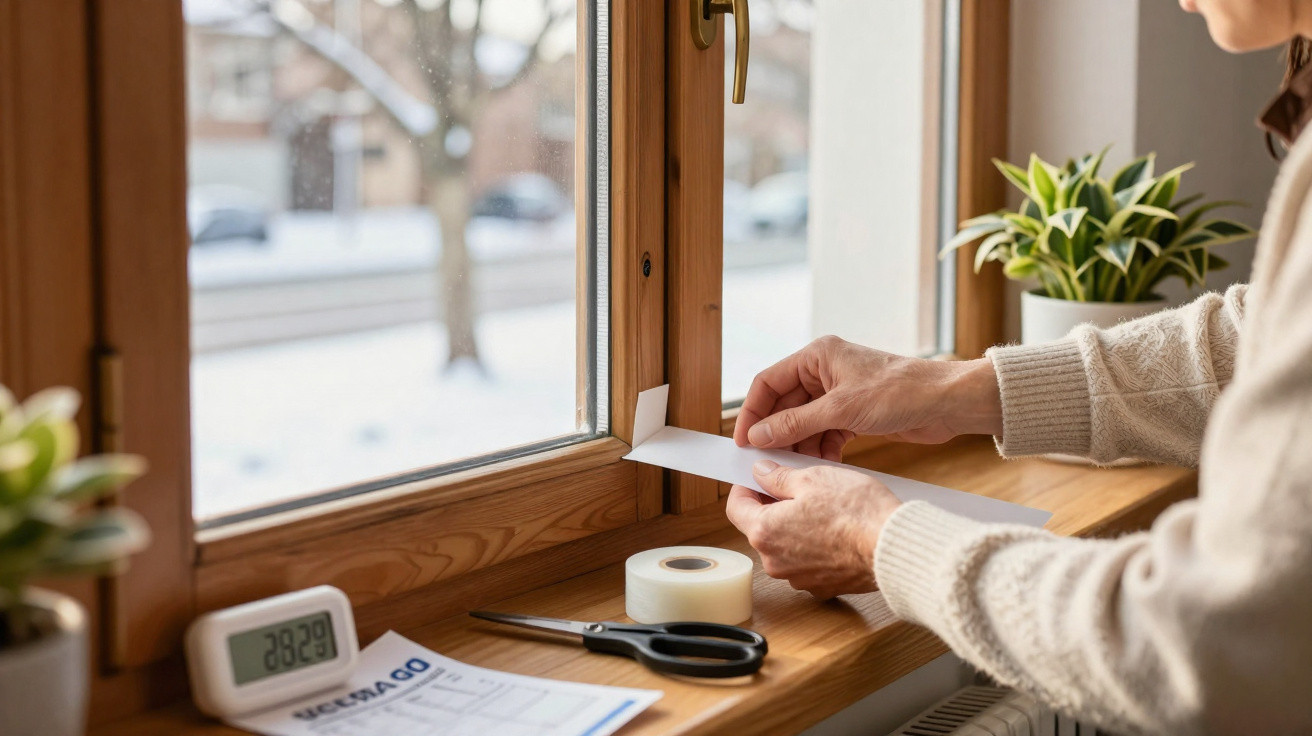
One January morning, I ran my hand close to the living-room window and felt that faint cold draught you almost learn to live with in older homes. The radiator was on and the curtains barely moved, yet the room never truly felt warm. We have all had that moment when we turn the heating up a notch without understanding why comfort does not improve. So I tried a very straightforward fix: £15 of materials, one hour of work and a few checks before and after. After two sets of energy readings, the difference was clear enough that I stopped dismissing draughts so lightly. The surprise came from somewhere I had not expected.
The cold was not coming through the glass: it was getting in around the window
The first clue came one evening while I was sitting on the sofa with a throw over my legs. One metre from the window, my small thermometer showed 18.4 °C, while the living-room thermostat read 20 °C. It was not an enormous gap on paper, but I could feel it straight away in my ankles and hands. A lighter flame held near the frame flickered slightly. That confirmed it: cold air was entering through worn seals rather than through the glazing itself.
My window was neither damaged nor especially old. It was double glazing fitted around fifteen years ago, but its seals had hardened and one casement had a slight gap. I bought two rolls of self-adhesive foam sealing strip, a denser rubber seal for the bottom edge, and a fabric draught excluder for the French door. The total came to £14.87. It is the sort of purchase people often put off because it seems almost too small to make any real difference.
An air leak works rather like a tiny window left slightly open all day. The heating is not only warming the walls and furniture: it is constantly trying to heat the air being replaced by outdoor air. In a poorly insulated room, this movement is subtle but continuous. A draught makes no noise; it simply eats away at comfort. When a home is heated by electricity or gas, that loss eventually appears on the bill.
With £15 of materials, the most useful job was the most ordinary one
The first step is to find leaks without any complicated equipment. I slowly moved a sheet of paper, then my hand, around the frame and opening section; a candle can also help, provided it is used carefully. Wherever you can feel airflow, the seal needs replacing or thickening. After cleaning the surface with a slightly damp cloth and allowing it to dry, I applied the strip without stretching it too tightly. The aim is not to force the window shut, but to fill the gap when it closes.
I made a fairly common mistake at first: the foam seal I chose was too thick. The window would not close properly, I had to push hard on the handle, and that risked damaging the fittings. I removed the first strip and fitted a thinner version along the sides, while retaining the dense seal at the bottom, where the draught was most noticeable. Let us be honest: nobody really wants to do this every day. It is better to spend ten minutes checking how the window shuts than to repeat the whole job the following day.
Once it was fitted, I waited for a cold week to compare readings at the same set temperature. Electricity used for heating the living room fell from roughly 10.8 kWh a day to 9.2 kWh on comparable days, a reduction of close to 15% for this part of the flat. This is not a universal promise: aspect, heating type and the condition of the windows all make a difference.
“The most obvious benefit was not the figure on the electricity app, but being able to sit near the window without reaching for a throw.”
- Thin foam seal: suitable for small, consistent gaps around the casement.
- Rubber seal: more durable for slightly wider gaps.
- Door sweep or fabric draught excluder: useful for a French door that lets air in at floor level.
- Simple thermometer: handy for comparing the area by the window with the centre of the room.
The bill fell, but the real difference was felt before it could be calculated
Over the following month, my estimated bill was around £11 lower than during a period with similar weather, based on my daily readings and electricity tariff. The materials had therefore paid for themselves quite quickly, without building work, power tools or turning the living room into a DIY workshop. The figure is personal, of course, but it gives an indication of what these small leaks can cost over an entire winter. The improvement in comfort, meanwhile, was noticeable from the first evening.
This test also shows that a window is not necessarily “poor” just because it lets in a little air. A compressed seal, a poorly adjusted handle or a slightly warped bottom edge of the opening section may be enough to create a lasting sensation of cold. Before considering costly window replacement, checking the details may prevent a disproportionate expense. If the window is difficult to close, has persistent condensation or still lets in a draught despite new seals, getting advice from a professional remains a sensible option.
Since making this small improvement, I look at the cold corners of the flat differently. The front door, roller-shutter box, ventilation hatch and even concealed cable entries can hide the same tiny sources of heat loss. The goal is not to make a home airtight: air must still circulate properly, especially in damp rooms. Yet the difference between necessary ventilation and an unwanted draught is enormous. Above all, this £15 experiment makes you want to check what you may have tolerated for years without even noticing.
| Key point | Detail | Benefit for the reader |
|---|---|---|
| Test budget | £14.87 for self-adhesive seals and a draught excluder | An affordable solution before undertaking more substantial work |
| Observed result | About 15% less heating energy use in the tested living room | A practical benchmark to adapt to each home |
| Useful check | Hand, sheet of paper or thermometer near the frame | Find leaks without expensive equipment |





Comments
No comments yet. Be the first to comment!
Leave a Comment