
In brief
- 🌀 Leaving a modest 30–60 mm space behind furniture encourages airflow, breaks up the boundary layer and keeps wall faces above the dew point, helping to avoid condensation marks.
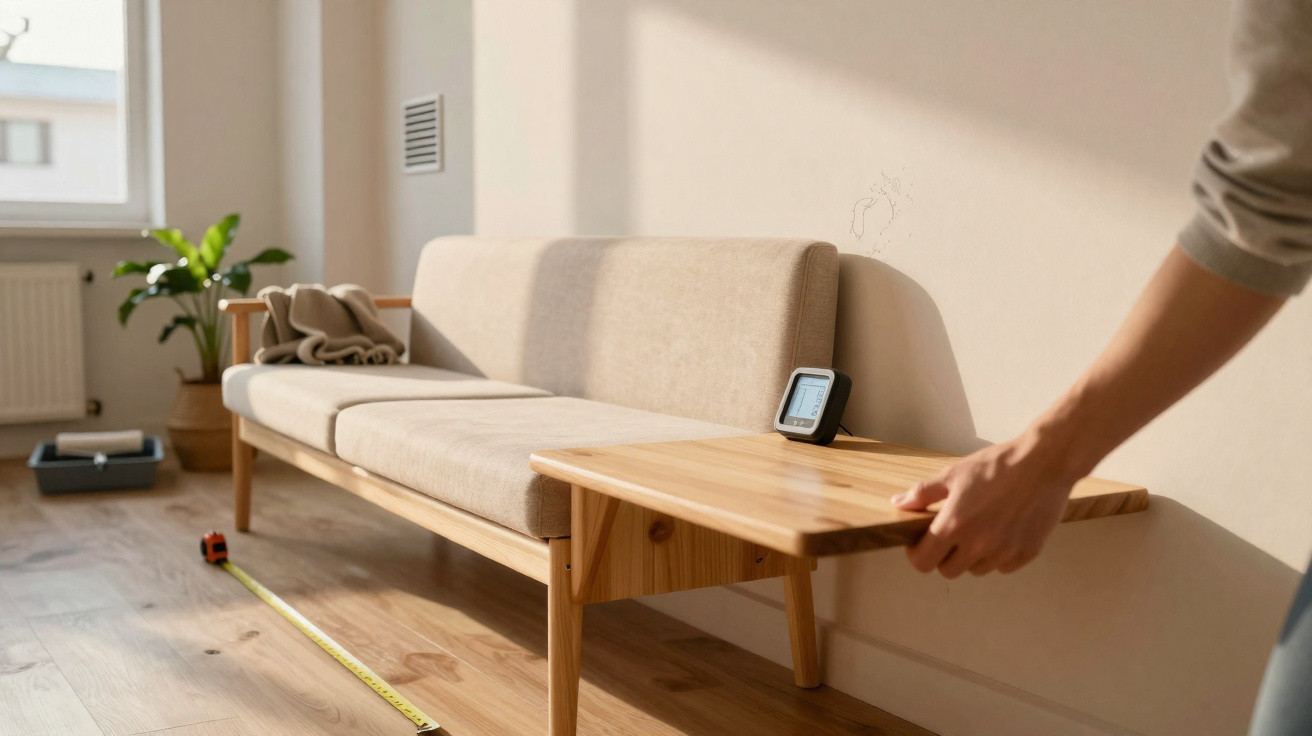
- 📏 As a practical starting point, allow 30–50 mm behind sofas and 60–100 mm behind wardrobes placed on external walls. Use spacers or felt pads, and do not pack units too tightly, so the channel remains uninterrupted.
- 🔬 In a Manchester case study, a 40–60 mm gap increased wall temperatures by ~1–2°C during critical periods, stopping overnight wetting and preventing further mould staining.
- 🌡️ Gaps work best alongside consistent low-level heating, suitable ventilation (Part F-compliant extracts and trickle vents), and breathable paints to keep RH at 40–60%.
- 🧭 Larger gaps aid drying and make cleaning easier, although they take up room. Use an inexpensive hygrometer to track conditions and alter furniture positions around cold spots and thermal bridges.
Those faint rectangular shadows found behind a sofa or wardrobe are not simply a quirk of decoration. They are condensation marks: uneven, occasionally sooty-looking patches caused when unmoving air allows moisture to settle on a colder wall. Across Britain's mixed housing stock-from solid-wall Victorian terraces to highly sealed new-build homes-this gradual problem can lead to mould, unpleasant smells and failing paint. The most straightforward remedy is to pull furniture a little away from the wall so air can move. This narrow void sets up a mild convection cycle, making temperatures more even and lifting wall surfaces above the dew point. It is an inexpensive measure that may reduce repainting costs, safeguard plaster and improve indoor air quality, particularly during a wet UK winter.
The Physics: How Airflow Prevents Condensation Marks
Condensation occurs when warm, moisture-laden indoor air reaches a cooler surface and releases its water vapour. The surface behind bulky furniture can become colder because the item blocks warmth from the room and holds a motionless “boundary layer” of air against the wall. When air is still, heat transfer falls, surface temperatures drop and the likelihood of reaching the dew point rises. Moving a wardrobe 30–60 mm from the wall changes these conditions: a slim chimney-like route for airflow develops, gently blending room air and warming the surface.
This is effectively a microclimate solution. Within the gap, a small but ongoing convection flow develops: cooler air near the floor travels upwards behind the furniture, collects heat from the wall and cabinet, then leaves at the top. As the wall remains nearer to room temperature, condensation is less likely to form. This means fewer tide marks, lower levels of mould spores and paint coatings that last longer.
- Dew point: The temperature at which moisture in air turns to condensation. It can be avoided by warming the wall or reducing humidity.
- Boundary layer: A narrow zone of stagnant air. Disturbing it through airflow reduces condensation.
- Thermal bridges: Areas that are colder, such as external corners; gaps can help moderate conditions even there.
Minor changes to spacing can keep surfaces above the dew point for several hours each day-often the exact periods when staining and mould develop, namely overnight and on cold mornings.
How Far Is “Slightly”? Practical Distances, Layouts, and Materials
The appropriate clearance varies with wall construction, humidity in the room and the depth of the furniture. As a general guide, begin with 30–50 mm behind sofas and allow up to 60–100 mm for deep, full-height wardrobes against external walls. A 20 mm clearance is still preferable to placing furniture flush against the wall, but extra room provides a greater safety margin. Fit felt pads or spacer blocks to maintain an even channel, and avoid cramming wardrobes so full that air cannot circulate beneath and behind them.
| Wall Type | Condensation Risk | Recommended Gap | Notes |
|---|---|---|---|
| Solid brick/stone (uninsulated) | High | 50–80 mm | Usually coldest during winter; consider breathable paint and use of trickle vents. |
| Cavity wall (uninsulated cavity) | Medium | 40–60 mm | Keep an eye on external corners and north-facing façades. |
| Insulated (internal or external) | Lower | 30–50 mm | Clearances remain useful around bridging points and behind tall furniture. |
| Timber frame | Variable | 40–60 mm | Check that vapour control layers remain undamaged. |
Pros vs. cons of wider gaps:
- Pros: Improved airflow, warmer wall surfaces, fewer marks and simpler cleaning.
- Cons: Lost floor space, more visible gaps around cables and a possible tipping risk where furniture is not secured.
Placing furniture flush against the wall is not an improvement: it makes the wall colder, holds in humidity and gathers dust that may leave grey “printed” marks. Keep clearance at both the top and bottom, do not seal furniture backs with foam, and avoid positioning items close to radiators that can push moisture behind them.
UK Case Study and Fresh Data: Hidden Damp in Real Homes
At a Manchester semi with a north-facing solid brick wall, a family spotted a dark shape matching the outline of their 2 m wardrobe. A straightforward three-week trial using a £12 hygrometer and surface thermometer revealed the cause. In Week 1 (flush), the room measured 20°C at 63% RH, while the wall behind the wardrobe averaged 14.8°C at dawn-below the 15.1°C dew point. This caused nightly condensation and sooty streaks. In Week 2 (40 mm gap), the wall temperature increased to 15.7–16.2°C; there was no visible wetting and less dust accumulated. In Week 3 (60 mm gap plus a 5 mm under-plinth slot), the wall reached 16.8–17.1°C; the stains ceased worsening and faded after gentle cleaning.
The findings reflected research into boundary-layer disruption: a slim, continuous channel can raise surface temperature by 1–2°C at crucial times. That is frequently enough to separate damp conditions from dry ones. The family left their wardrobes slightly less full, added unobtrusive spacers and set the bathroom fan to continue running for 20 minutes after showers, reducing the overall daily moisture load. After six months, no fresh marks had appeared and the indoor odour was cleaner. This is not elaborate engineering, but everyday equipment applying basic physics.
Beyond Gaps: Ventilation, Heating, and Paint That Help
Creating space is the first measure, while lasting results depend on combining ventilation, steady warmth and breathable finishes. Bedrooms and living rooms benefit from trickle vents or planned window opening, whereas kitchens and bathrooms need efficient extract fans meeting or exceeding Part F guidance. Aim to keep indoor relative humidity at roughly 40–60%; in winter, a compact dehumidifier can be particularly useful in well-sealed flats.
Heating also has an important role. Low, continuous warmth is more effective than sharp highs and lows: it evens out wall temperatures and helps keep surfaces away from the dew point, particularly overnight. Apply breathable paints to cold external walls, avoid vapour-trapping vinyl wall coverings and consider thermal lining paper if insulation improvements are impractical. Choose skirting-level cable organisers that do not obstruct the air route behind furniture.
- Put hygrometers in rooms at risk and record morning RH and surface temperatures.
- Raise furniture slightly above carpets with sturdy pads to provide an inlet at floor level.
- Remove existing marks using a mild detergent; only use biocides where mould has been confirmed.
- Tackle moisture sources such as clothes dried indoors, unvented tumble dryers and fish tanks.
Prevention is a system rather than one isolated adjustment: use spacing, moisture management and consistent heating together to look after both walls and lungs.
Moving furniture a hand’s breadth away from the wall may not earn design accolades, but it allows warm air to work quietly and continuously-levelling temperatures, preventing mould from taking hold and preserving paint. In one or two weeks, many homes experience fewer smudges and less mustiness, especially along cold external walls and in shaded corners. Combine this with small routines-using extract ventilation, maintaining steady heat and selecting breathable finishes-and the result is a robust, affordable defence. Which item will you move first, and what simple readings could you take this week to demonstrate the change in your own home?

Comments
No comments yet. Be the first to comment!
Leave a Comment